
2008-2014 Subaru WRX Top-Mount Intercooler, Part 3: Initial Prototype Testing
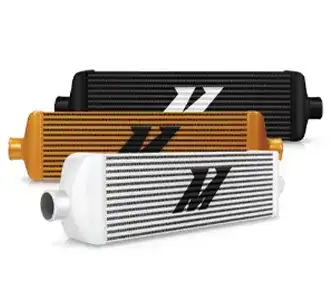
Interested in purchasing our 2008-2014 Subaru WRX Top-Mount Intercooler? Check out more details on our product page linked below!
Mishimoto Subaru WRX Top-Mount Intercooler

Testing time! Well " almost. We had a few quick testing details to sort out and some preparations before we actually began. First, we needed to drill and tap the stock intercooler as well as the Mishimoto prototypes so we could install our pressure/temperature sensors. Additionally, we decided to create a shroud for our TMIC fan to ensure that all cores would receive appropriate airflow on the dynamometer.
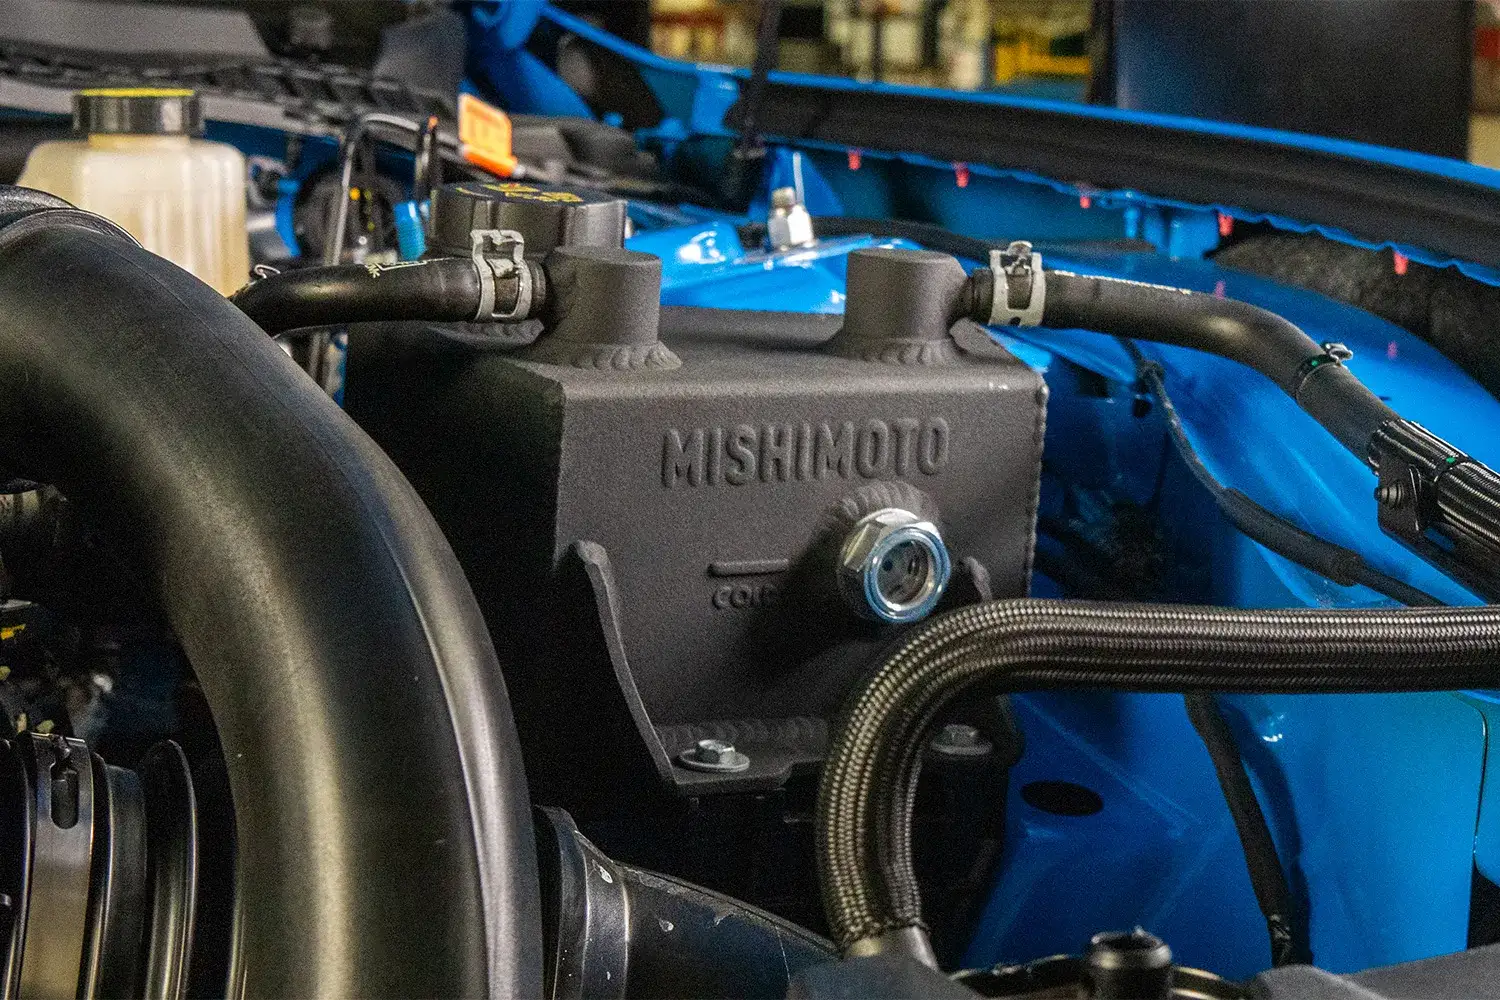
Tapping the intercoolers for sensors is a relatively straightforward process. We drilled into both end tanks and then tapped them to 1/8" NPT for our sensors. The stock intercooler tanks are thick enough so we could adequately tap them for testing. Check out a few images of our coolers getting this treatment.

Mishimoto prototype intercooler pressure sensor

Mishimoto prototype intercooler pressure sensor

Mishimoto prototype intercooler temperature sensor

Mishimoto prototype intercooler temperature sensor
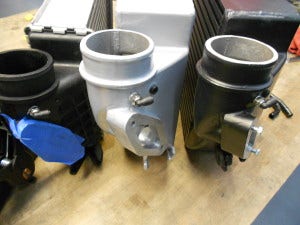
All intercoolers tapped for data collection
Once the coolers were set, we prepared our fan rig for operation on our test vehicle. Intercooler airflow differs substantially when you compare fan use to actual wind speed on the road. Our temperature testing would be conducted on-road to obtain the most accurate data. Power data collection would be conducted on our dyno, so we needed a shrouding setup that would optimize our fan.
First, let's take a look at the footprint of our fan and understand why this needs to be done.

Mishimoto TMIC fan
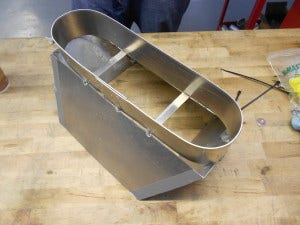
As you can see, the fan features an oval shaped outlet, while our intercoolers are square. When placed on the cooler during testing, a ton of airfow misses the actual core and would skew our results. The previous generation TMIC was more rectangular, which catered a bit more to our fan outlet. To produce maximum airflow in a directed manner, this shroud would need to be completely sealed, similar to the hood scoop ducting on your WRX.
To start the project, Dan welded a frame for the outlet.

Mishimoto TMIC fan shroud fabrication

Mishimoto TMIC fan shroud fabrication

Mishimoto TMIC fan shroud fabrication
Once complete, shrouding was attached to convert from the oval outlet to the square shape of the intercooler core.
Mishimoto TMIC fan shroud fabrication

Mishimoto TMIC fan shroud fabrication
After everything was assembled, the gaps were sealed and weather-stripping was applied to the contact points to avoid damage and to provide a press-on seal for the shroud. We then strapped the fan and shroud assembly to the car.

Mishimoto TMIC fan shroud fabrication

Mishimoto TMIC fan shroud fabrication
We also needed to consider the difference in core size between the Mishimoto and stock intercoolers. The Mishimoto intercooler is 1.5 inches higher, so we have a removable adapter to reduce the size appropriately. This ensures that both cores are receiving equal amounts of airflow from the fan.
Now that we were all set for testing, it was time to bring in a vehicle. Our project manager, Jason, is very involved with the Subaru community and talked his friend into bringing his 2012 WRX in for a few days. This vehicle was lightly modified, essentially a stage-one WRX. This would be adequate for testing and provide a nice idea of what a majority of our customers should expect when bolting on this cooler.
Check out the car!

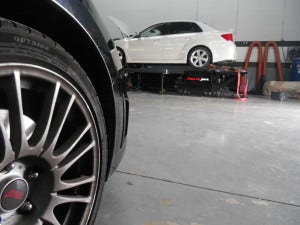
Test vehicle

Test vehicle stock engine bay
Our first goal was to capture baseline data for the stock intercooler. After bolting up our tapped stock cooler, we put the car up on the dyno to prepare it for some pulls.

WRX test vehicle and the Dynojet dynamometer

WRX test vehicle on the Dynojet
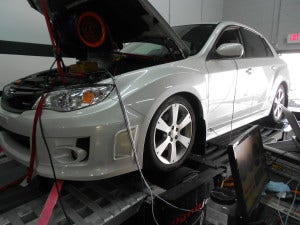
WRX test vehicle on the Dynojet
And the pulls began, filling our garage and offices with the wonderful tone of an EJ!
WRX test vehicle on the Dynojet
As mentioned before, we designed two cores with varying densities for testing. Once we had our baseline data, we installed the first of our Mishimoto prototypes and hooked it up to our sensors. We made pulls until we had a nice average for our data collection purposes. For consistent and accurate comparisons, we ensured that the test vehicle was properly warm by timing the breaks between pulls. We then repeated the testing on the second prototype.

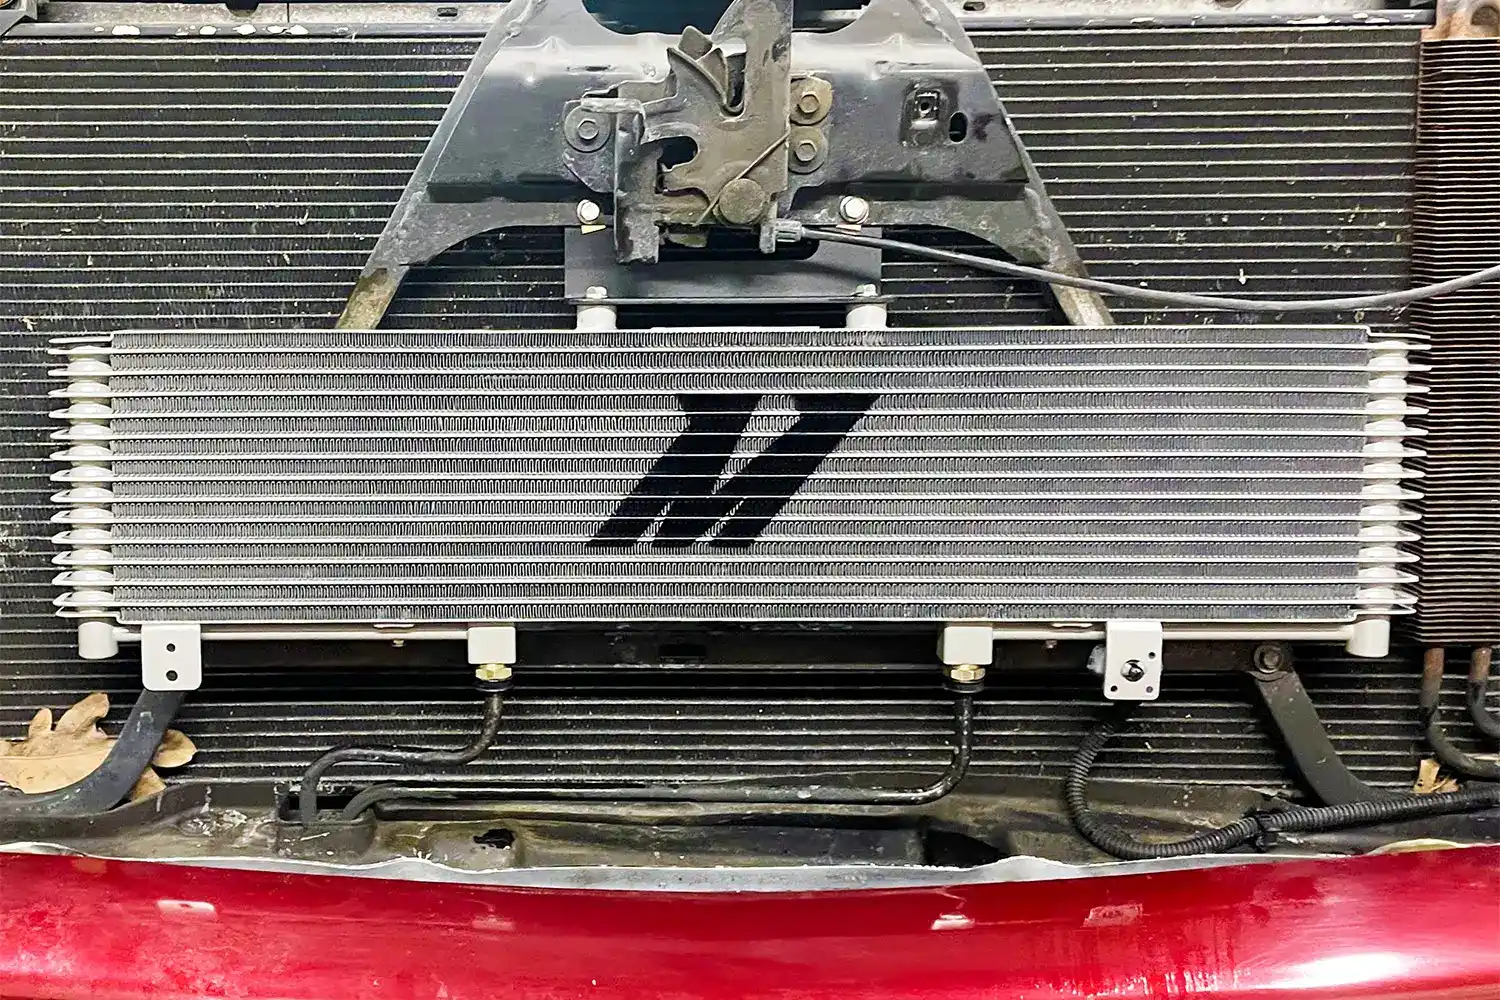
Mishimoto intercooler installed with sensors

Mishimoto intercooler installed with sensors

Mishimoto intercooler installed with sensors
We spent the day making pulls and collecting data. Once completed, we compiled our findings and determined which core we would use to move forward. Check out a neat video of the dyno testing!
Check back next time for the results of our testing!
Mishimoto intercooler testing