
Mishimoto 2015 Subaru WRX CVT Transmission Fluid Cooler, Part 4: Prototype 3 Development and Final Results
Interested in purchasing our WRX transmission cooler? Check out our product page for more information!
Mishimoto Subaru WRX CVT Transmission Cooler
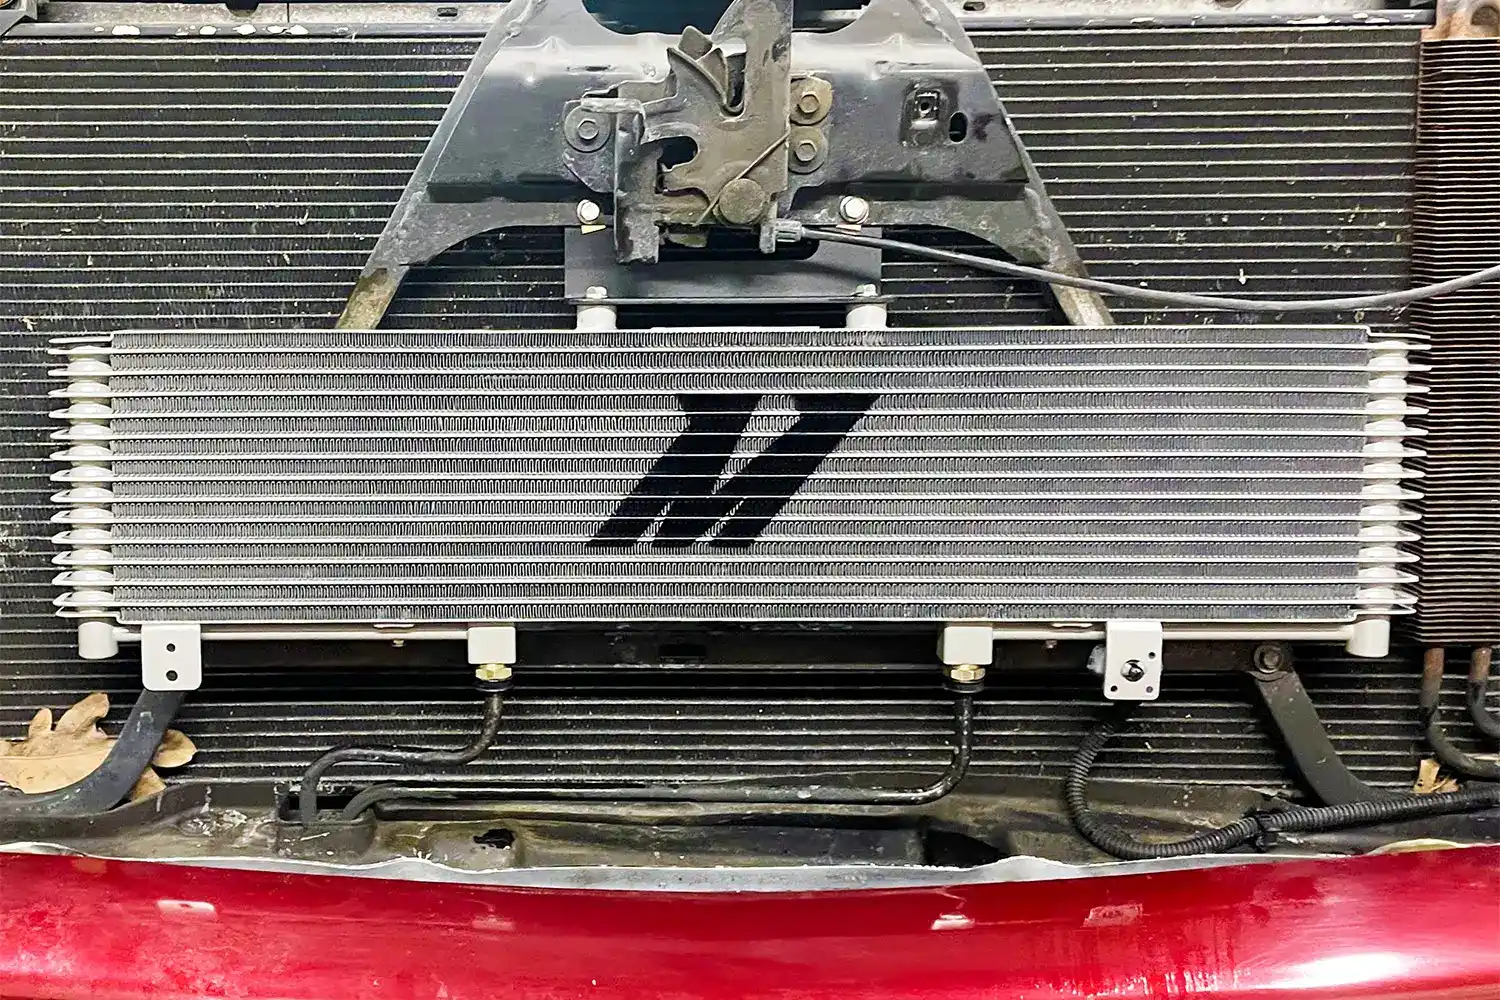
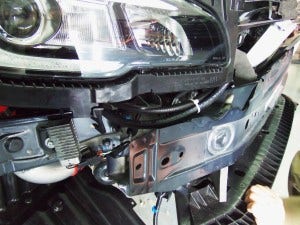
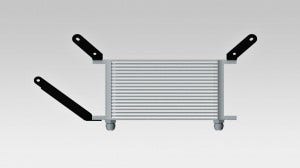
For our third prototype unit for the CVT cooler, we decided to take a more traditional approach. We would place the cooler in a location that would guarantee airflow. The main concern was fitting our large 19-row cooler in a position that would not leave any space for other aftermarket components. First, we mocked-up the cooler and developed some basic brackets that would place the cooler in an angled position behind the upper grille area. Check out a few shots of the mounted cooler!
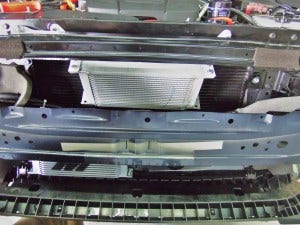
Prototype 3 cooler mounted
Prototype 3 cooler mounted
Prototype 3 cooler mounted
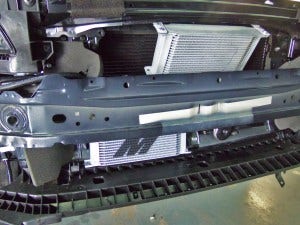
As you can see above,the cooler is mounted at a slight angle, with two brackets supporting the cooler from the upper mounting points. We added an additional bracket to one of the lower mounting points, which you will see in the renderings later in this blog.
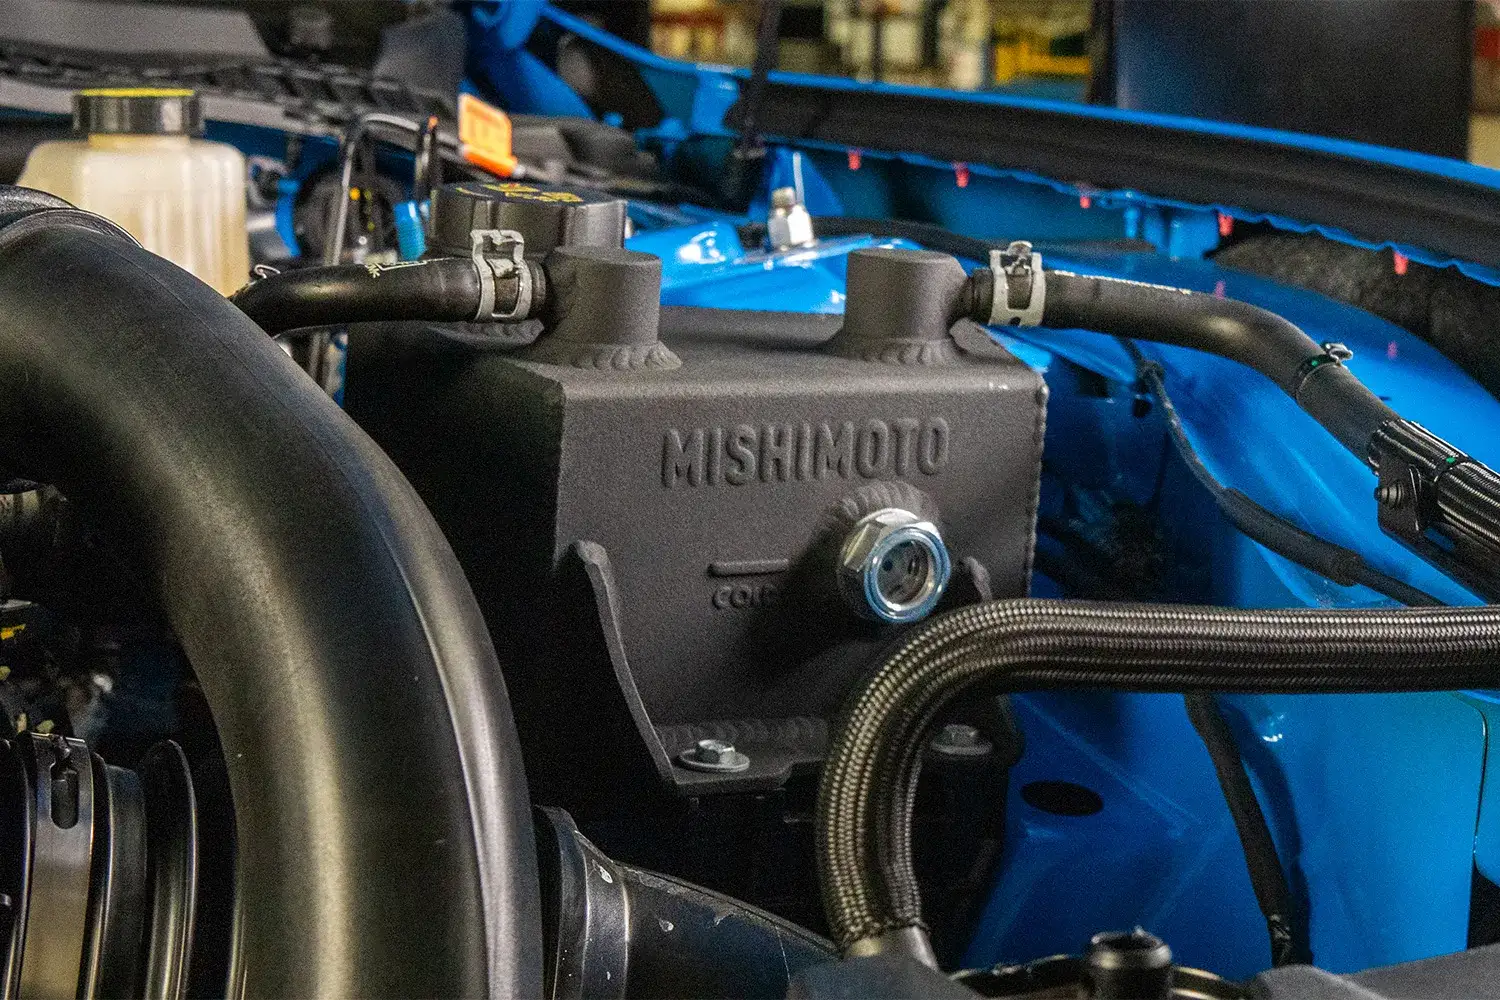
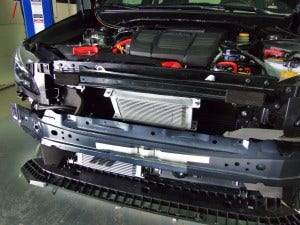
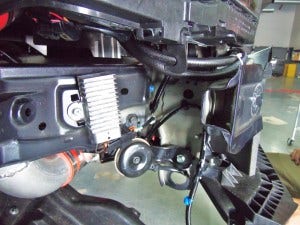
During this product design process we installed our direct-fit oil cooler kit to ensure that the two components would fit together. You can see the oil cooler in the lower bumper portion with the "M" logo.
This adapter will allow us to convert to a rubber line for use with the cooler. A quality rubber line will provide the necessary pressure tolerance, as the CVT pressures never exceeded 50 psi during our testing conditions. Next, we routed the lines around the radiator support in a location away from any components that could rub or damage the line.
Prototype 3 cooler line routing
Prototype 3 cooler line routing
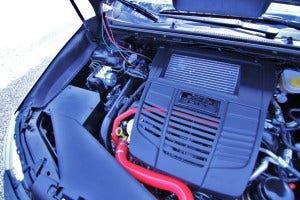
Once the lines were routed and installed, we buttoned everything up and set up our temperature sensors to prepare for road testing.
Temperature sensor preparation

Temperature sensor preparation
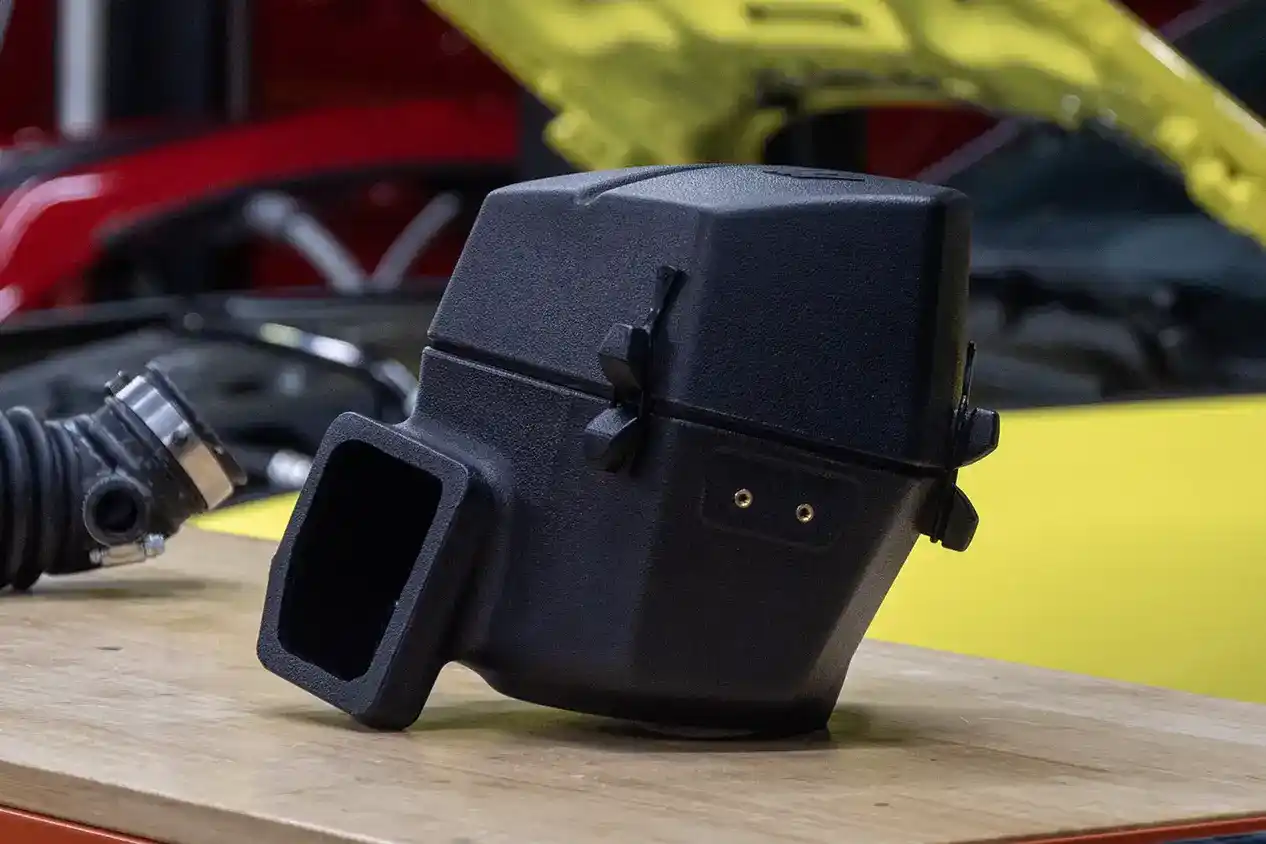
As you can see, we have a few other Mishimoto products installed on our CVT test vehicle, including our performance air intake, silicone radiator hose kit, and silicone ancillary hose kit. With everything ready to go, we hit the road to collect more data. This is the fun part!

Prototype 3 road testing
Once complete we returned to the shop to crunch our data once again and see how the additional airflow affected our temperature numbers.
Prototype 3 data collection
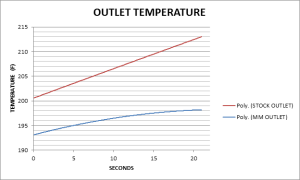
This was the data we wanted to see! As before, the stock plot begins at 201°F (94˚C) and peaks at around 213°F (101˚C) toward the end of the pull. In this run, the Mishimoto intake begins the pull at 193°F (90˚C) and peaks at 198°F (92˚C) after 20 seconds at full throttle. This is a 15-degree reduction in temperature! The added liquid-to-air heat exchanger is placed outside the engine bay. By doing so, heat-soak is reduced, which will affect temperatures during idle conditions. This situation is reflected in the plot above.
Along with temperature data, our engineers also monitored fluid pressures to ensure that the additional capacity and fluid routing would not negatively affect the overall system pressure. Extensive road testing proved that pressures were very similar to the stock system and well within a safe range during all forms of operation.
Check out our video from the testing process!
We were extremely pleased with the rigidity of the design, the location of the cooler, and primarily the results obtained from testing. All we had to do now was finalize our product drawings and begin mass production. Check out a rendering of the brackets (including the additional lower bracket) we designed to support the cooler.

Prototype 3 bracket rendering
Prototype 3 bracket rendering
Now that we had a final product, we could circle back to our goal list and ensure that our product was meeting all our original specifications.
Project Goals
- Kit must be easy to install and require no vehicle modification.
Although bumper removal is necessary, this kit is very easy to install with simple hand tools. The lines install similarly to the stock lines, and no irreversible vehicle modification is necessary. All components are engineered specifically for this vehicle. Installation will be demonstrated in a detailed video guide.
- Cooling performance gains must be proven through real-world testing.
Our road-testing results showed temperature decreases of 15°F compared to the stock setup. These data were compiled during a full-throttle launch control pull from idle through 4th gear in sport-sharp mode. Our engineers anticipate even greater gains during extended high-rpm driving such as during a road course or track event.
- Kit would supplement the stock liquid-to-liquid cooler.
The Mishimoto CVT cooler supplements the stock liquid-to-liquid cooler and functions perfectly. We achieved appropriate fluid warmup as well as large reductions in fluid temperature under load.
That puts another successful project in the books for the Mishimoto engineering team! These units are now in mass production so we can get them on shelves quickly! We know you guys are interested in tracking your CVT, and we want you to be able to do so without the fear of issues from high temperatures.
Thanks for following along with the development process. Feel free to follow up with any questions or comments. Keep your eye on the "Vendor Announcement" section of Nasioc for our CVT cooler pre-sale!
Thanks!