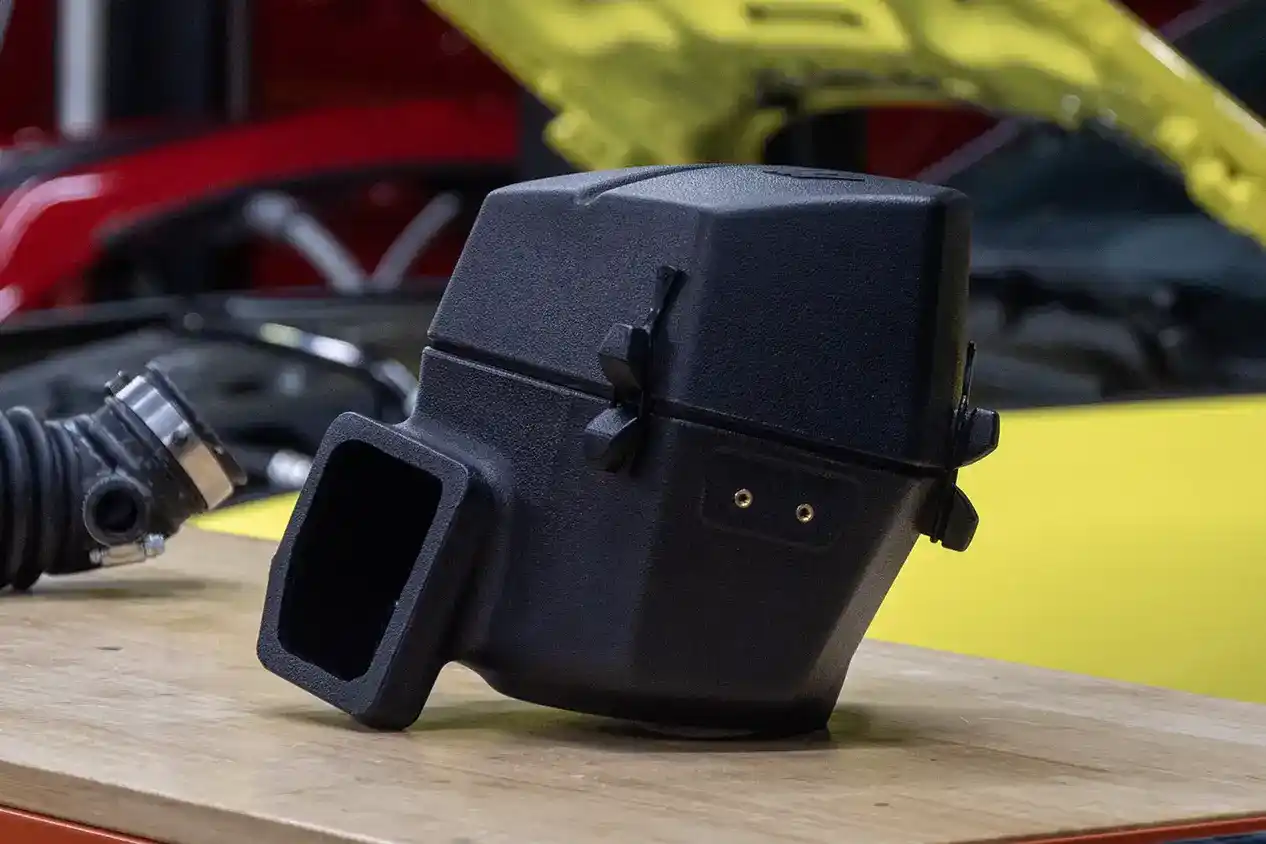
Our shop contains many unique tools and equipment to help aid our R&D team in the process of product development and testing. One of our more recent acquisitions is a very nice Waterjet machine. We've used this device to cut airbox pieces, catch can brackets, shop signage, fan shrouds, and many other components that can be constructed from flat sheet material. This tool been helpful in speeding up development projects, and we've really enjoyed learning about its many features.
Waterjet Basics
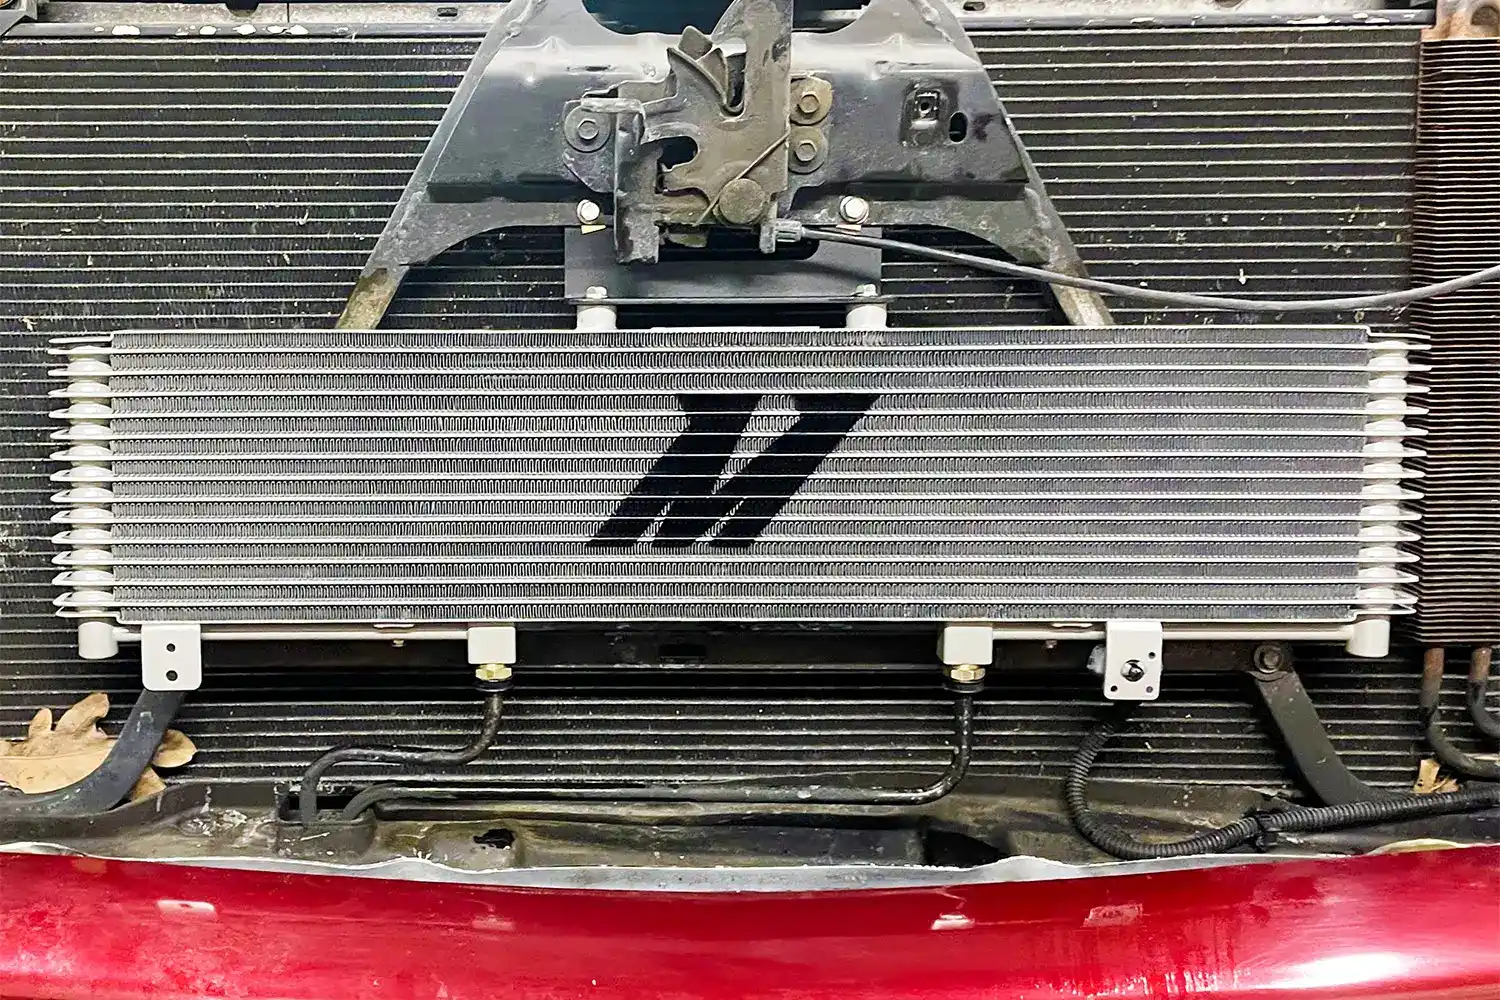
Despite being compact in physical size, this radiator is a dual-pass unit with a very dense fin composition. Cooling efficiency is quite impressive from such a small footprint. Although pressure won't be absurdly high, this radiator has strengthened tubes that can withstand around 100 psi. In addition to these benefits, the connection points on this radiator feature a threaded female port to accept different size and style connections. We intend to use -16AN fittings for the lines, which is an option we offer with this radiator. It is almost as if we designed this radiator specifically for this project.
Because this radiator is not in motion, we needed to find a way of providing airflow. Our team will be designing an efficient fan shroud that will use two of our new high-flow electric fans, which should provide the needed heat transfer during operation.
To round out the project, we will need to incorporate a water pump to circulate fluid through the system. We will also need a reservoir and some kind of frame to support all these components.
Concept Creation
With all these thoughts on paper, we put together a concept of our overall design in Solidworks™. Check out a few screenshots of what this project is to become.
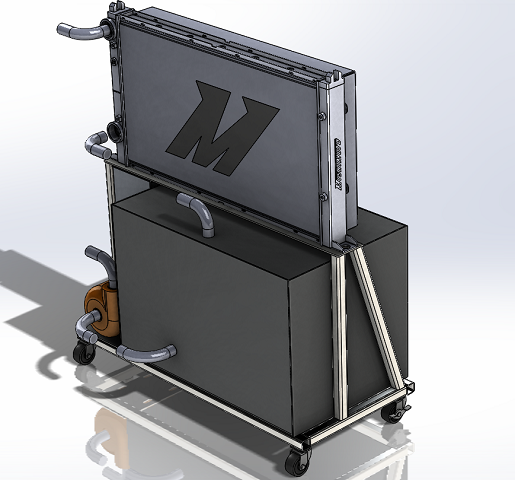
Waterjet cooler 3D model
Using this software, we can map out our plans for arranging all the components, including concrete dimensions for the frame, reservoir tank, and all pieces requiring fabrication.

Waterjet cooler 3D model
We've labeled each of the major components to give you an idea of what kind of fabrication lies ahead.

Waterjet cooler 3D model
Fan Shroud Fabrication
Airflow through the core is going to be a big deal for this project, so we are tackling the fan shroud first. We used our Waterjet to cut out the basic shroud shape, and then we began bending the edges and welding.

Fan shroud fabrication

Fan shroud fabrication

Fan shroud fabrication
A few mounting tabs were quickly fabricated, and our shroud was complete.

Fan shroud installed

Fan shroud installed
The shroud is designed to cover the entire surface of the radiator core. This provides maximum airflow through the core to promote optimal heat transfer. We are using two of our 10" high-flow electric fans that each produce 1,600 cfm. Later, we will add some weather stripping to seal the shroud against the core.
Fluid Reservoir Fabrication
This will be a self-contained system, which means we need a reservoir for the fluid we intend to circulate through the Waterjet and our radiator. We designed a 20-gallon tank, and once again we used our Waterjet to cut out each side of the tank.

Fluid tank fabrication
The first order of business is to attach our AN fittings and fluid fill neck.

Fluid tank fabrication

Fluid tank fabrication
The tank began to take shape as we tack-welded the sides in place.

Fluid tank fabrication
We then started the process of welding the seams.

Fluid tank fabrication
Check out our end result!

Completed reservoir tank

Completed reservoir tank
Final Assembly
Now that the larger components are complete, we can wrap up the loose ends and begin assembling our setup.
First item on the list was a water pump. After acquiring a suitable unit, we made sure to give it a bit of personalization in the form of orange paint. This half-horsepower pump can push 20 gallons of water per minute, which should provide an ideal flow to allow the heat exchanger to work its magic.

Water pump in Mishimoto orange
For the transfer of fluids, we acquired -AN fittings that adapt to the NPT fitting on the pump.
Next, we needed a stand to hold all these components securely; we built one from steel to provide a robust mobile setup.

Mishimoto waterjet cooler
We also worked on a power inverter to utilize our 12V fans from a standard wall outlet. The inverter is the small black box you see sitting above the pump in the image below.

Mishimoto waterjet cooler
Constructing the AN lines was next on our list of items to complete.

Mishimoto waterjet cooler line construction
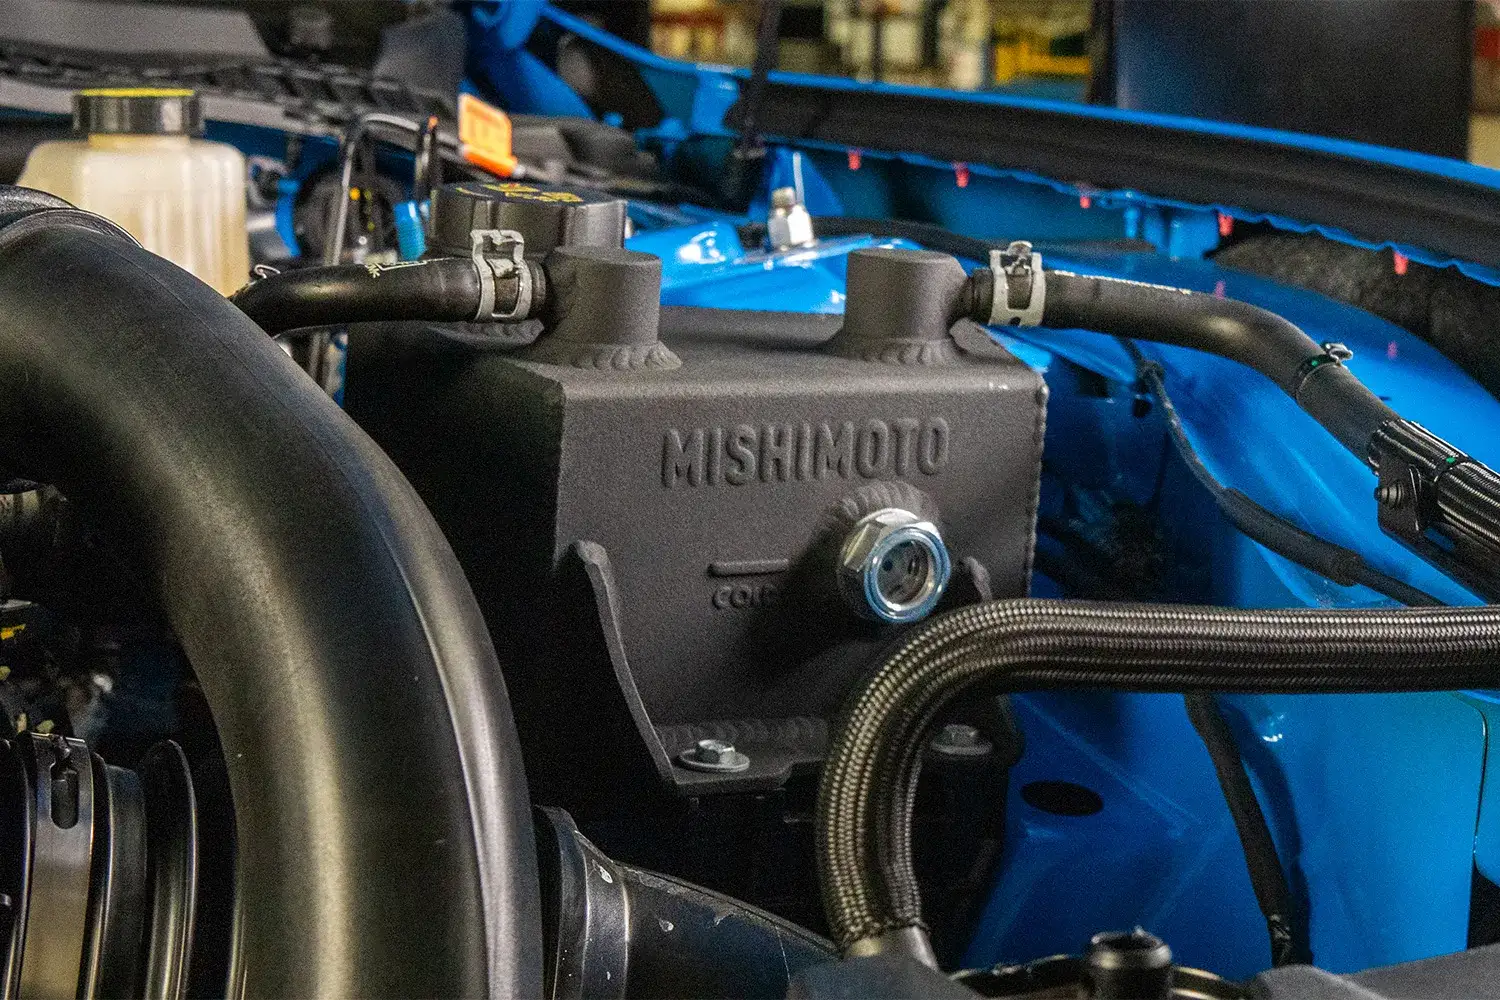
Using one of the 1/8" NPT sensor ports on this radiator, we've added a combination pressure/temperature gauge so we can keep an eye on how efficiently our cooler is working.

Mishimoto waterjet cooler gauge
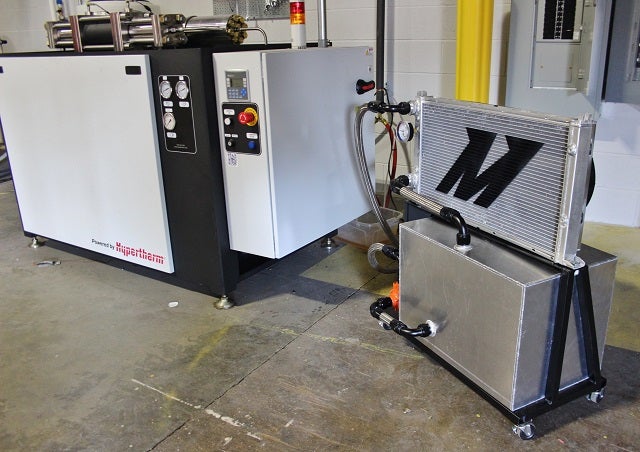
Completed Waterjet Cooler
After buttoning up all the final details, our project was complete. Check out a shot of this setup ready to run.
Completed Mishimoto waterjet cooler
We will be utilizing this system during Waterjet use on upcoming projects. Our team will be monitoring the effectiveness of the heat exchanger, and we will report back with details and maybe even a video showing it in action!
Thanks for reading!
-John