Cooling a Cult Icon - Radiator R&D, Part 2: Design, Prototype, Production
2007-2014 Toyota FJ Cruiser Performance Radiator
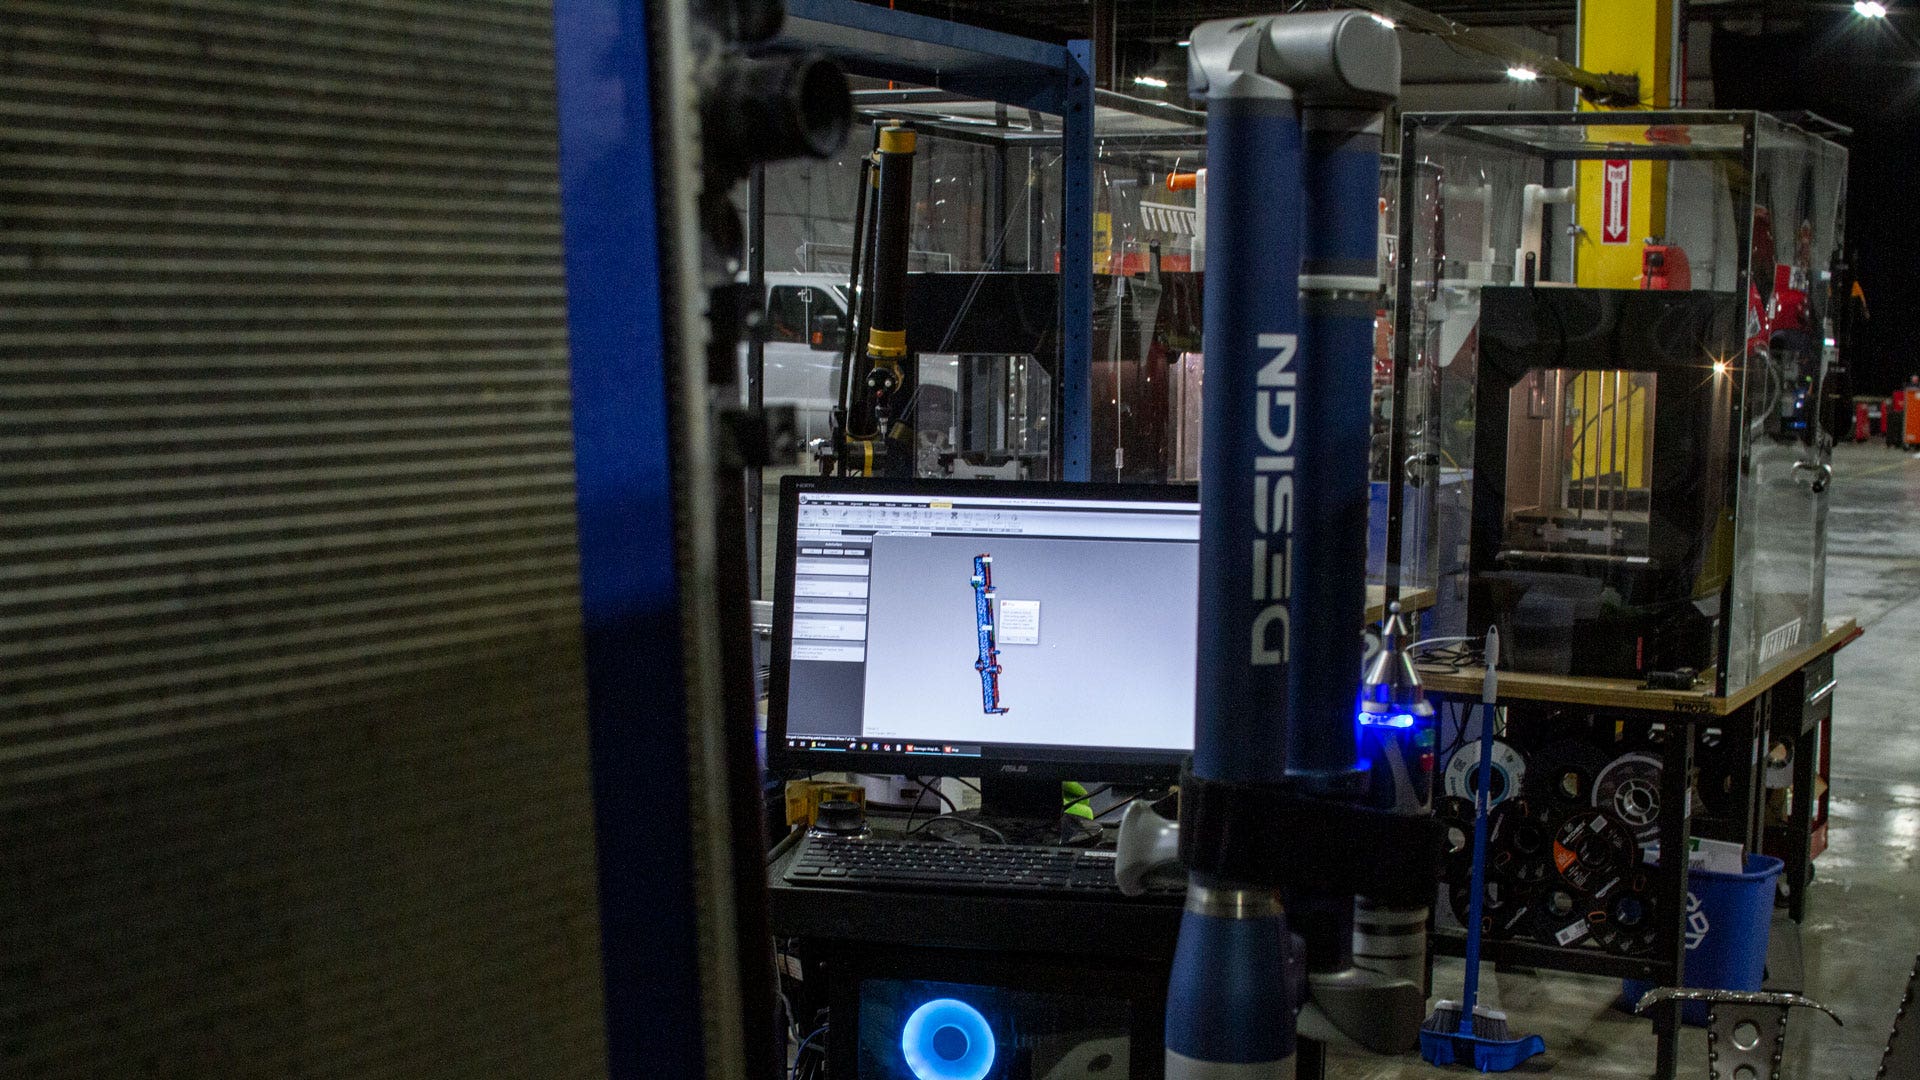
When we last talked about our 2007-2014 Toyota FJ Cruiser performance radiator, we had just removed the stock radiator. Our engineer, Ye, used our 3D scanner to make a digital model of it. In this post, we'll turn that digital model into a prototype, and if all goes to plan, we'll turn that prototype into a full production sample.
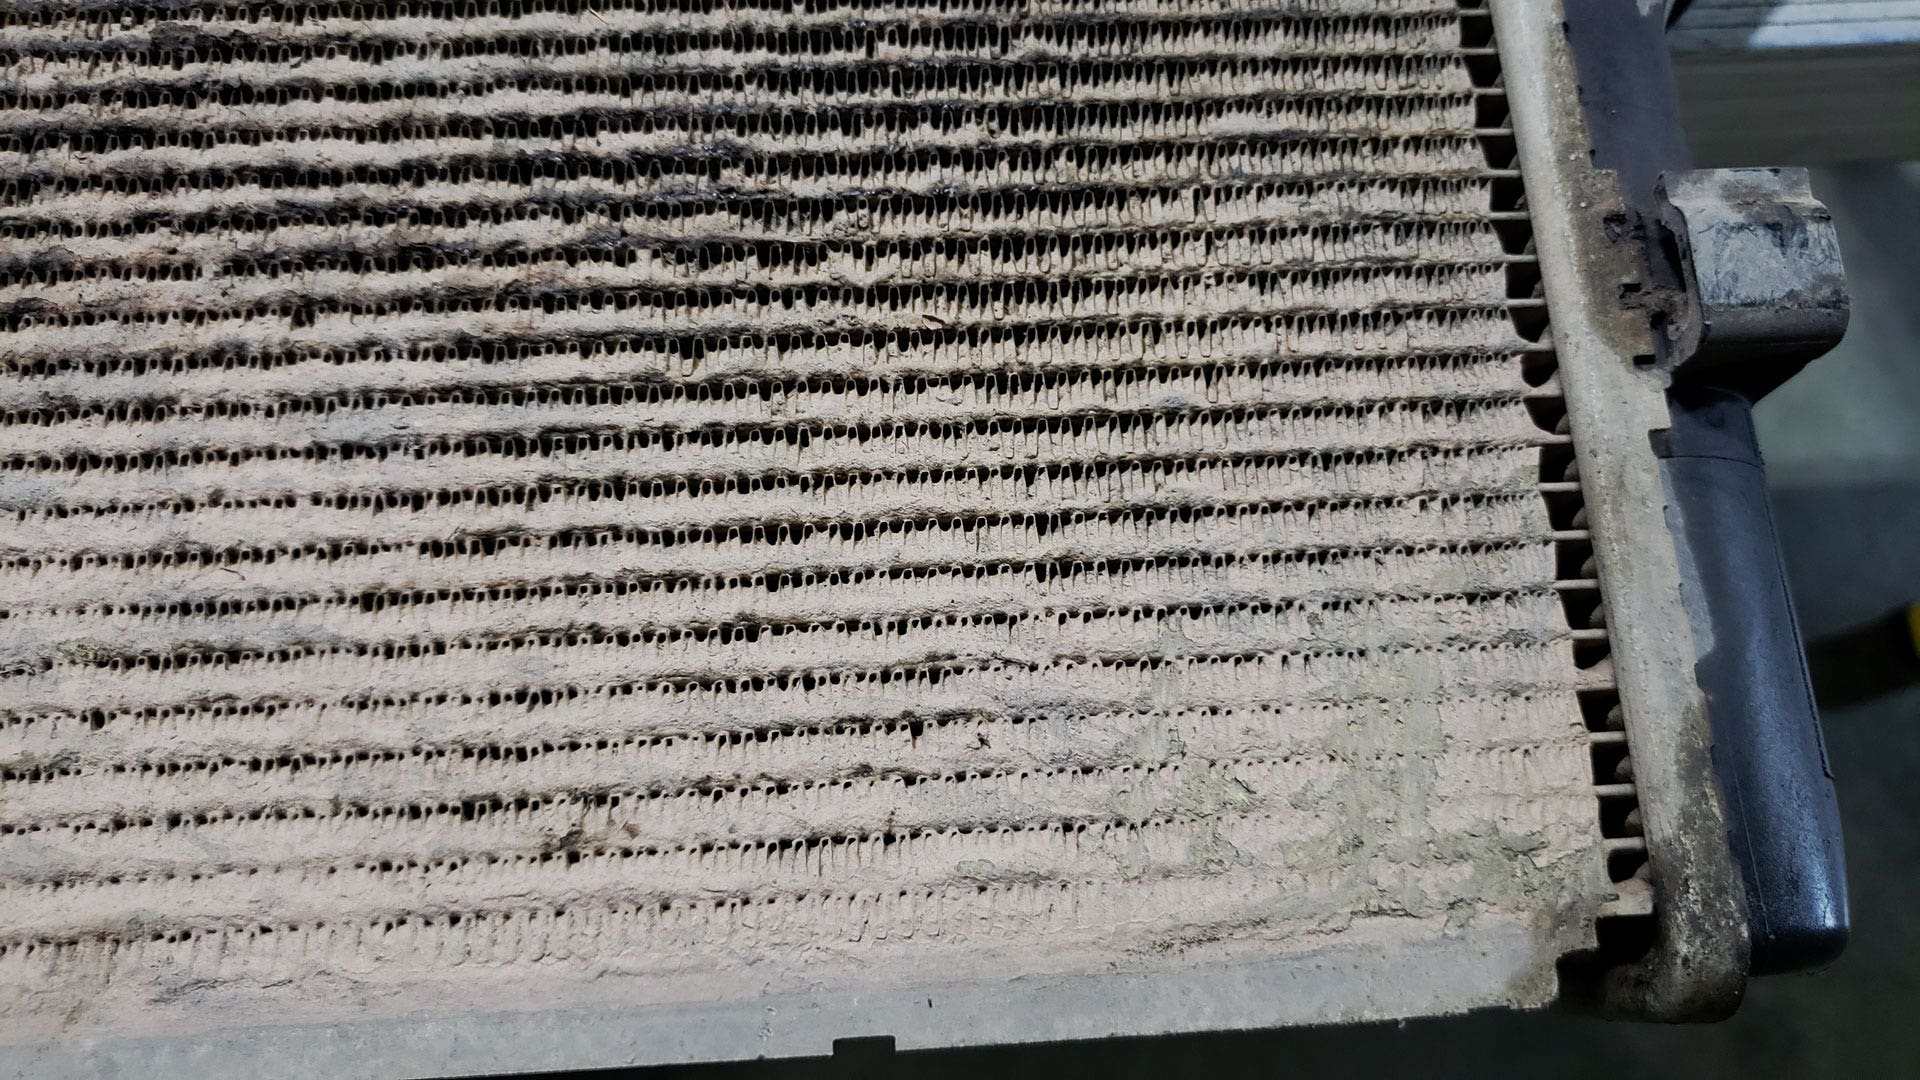
The first step in the process was to make a prototype radiator, test fit it on the vehicle, and ensure our design would fit. But before we could begin the prototype phase, we found something interesting that emphasized just how significant this upgrade could be. In the last post, we mentioned that Ye owns this FJ and that she off-roads often. Well, when we pulled out the stock radiator, we found what happens after years of off-roading. The bottom third of Ye's radiator was filled with mud to the point that you couldn't see most of the fins, and there was no way air was getting through this section of the radiator. It's safe to say that this radiator couldn't perform as well as intended from the Toyota factory.
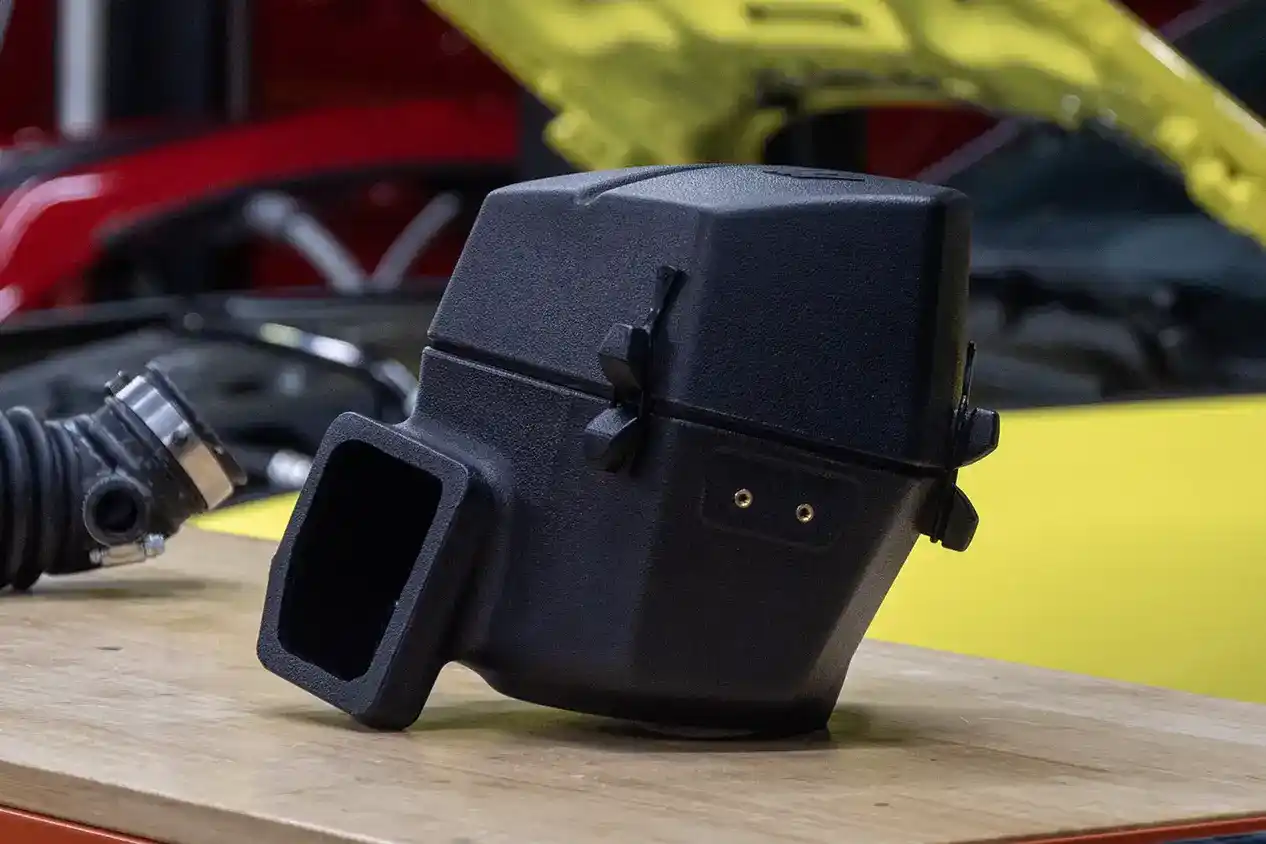
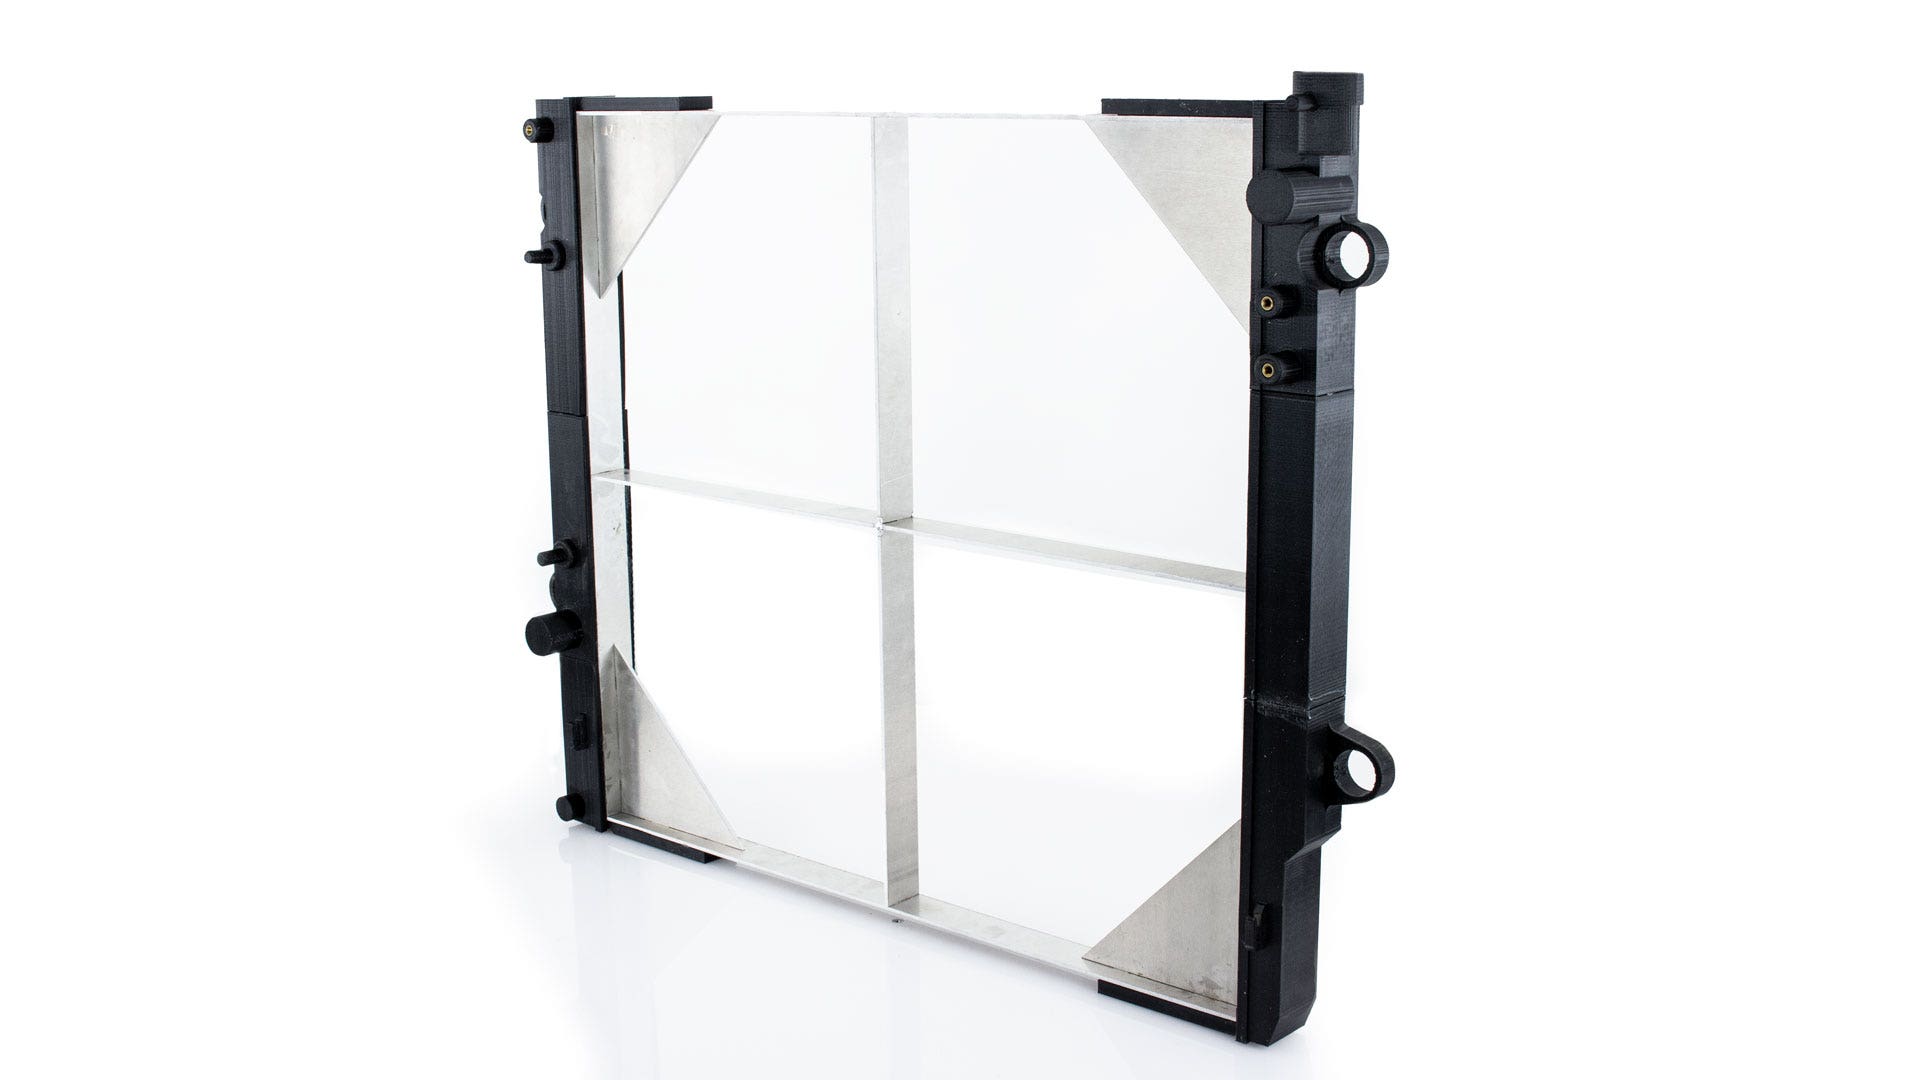
Confidence in the project bolstered, we began the prototyping process. Our radiator will be over 30% larger than the stock radiator, so we need to make sure it still fits the cooling stack. To make our prototype end tanks, we turned to our 3D printers. Using our 3D model of the stock radiator, we printed end tanks with the same features as the stock unit so that our prototype would bolt up to all the stock components. For the core of our prototype, we turned to our fabricator, Mike. Mike took the dimensions that Ye provided and used our water jet cutter to cut aluminum strips with the same length, width, and height as the core. He then welded the strips and two diagonal braces to help the core keep its shape during installation.
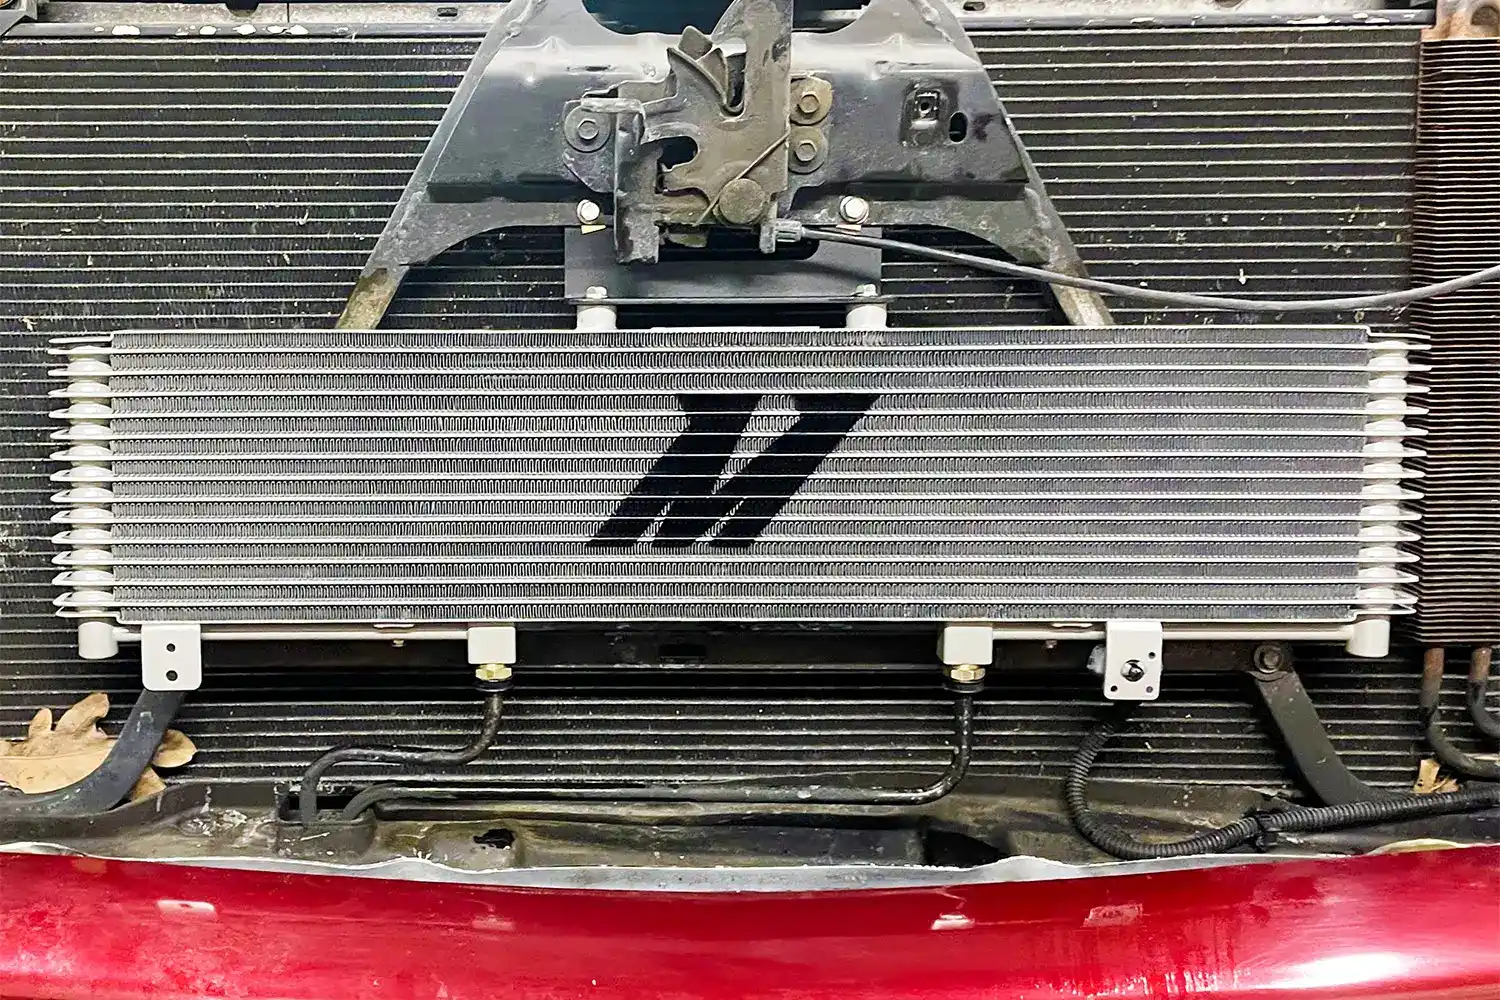
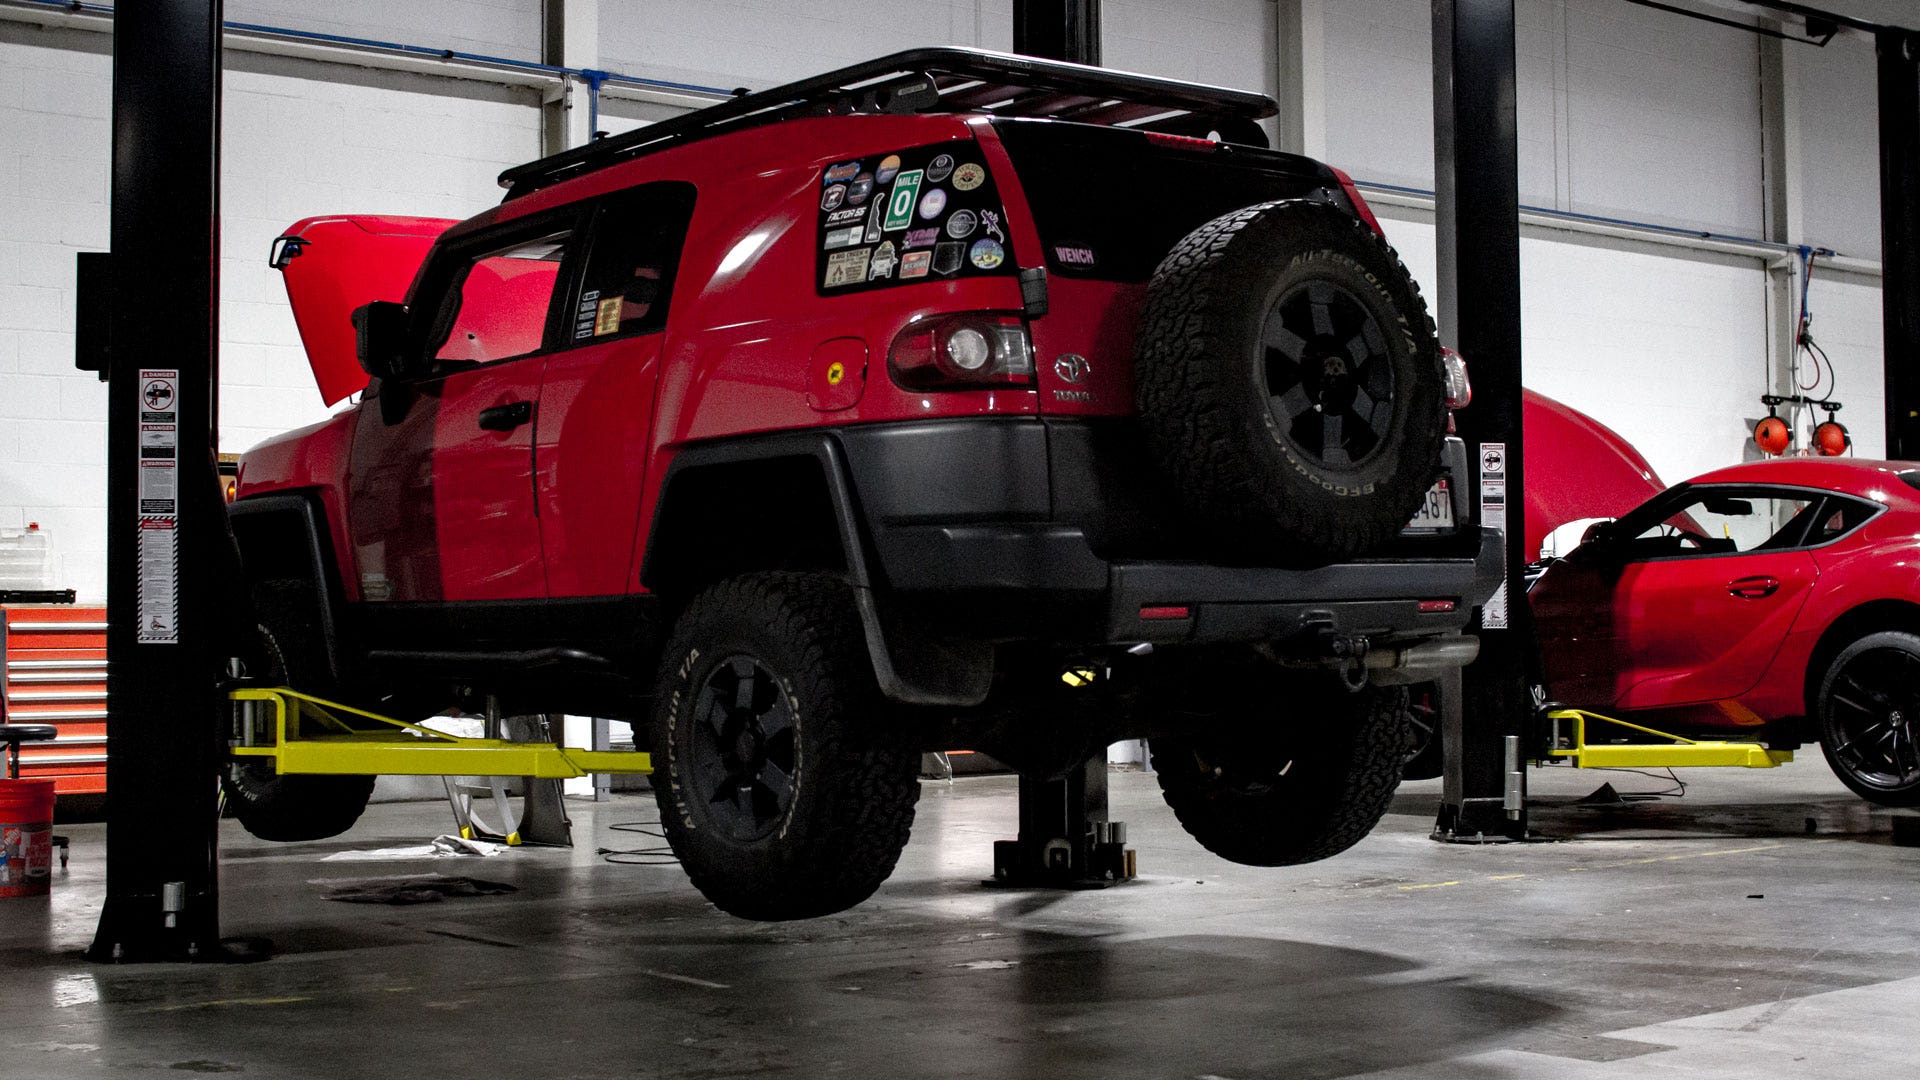
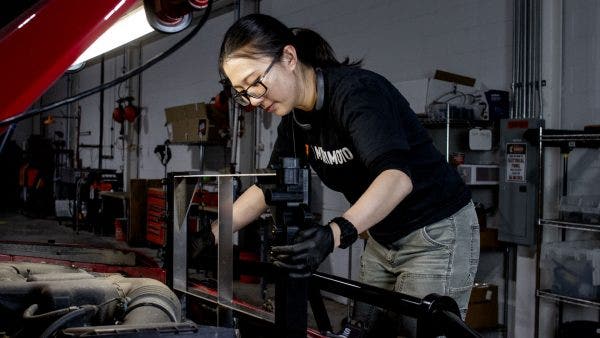
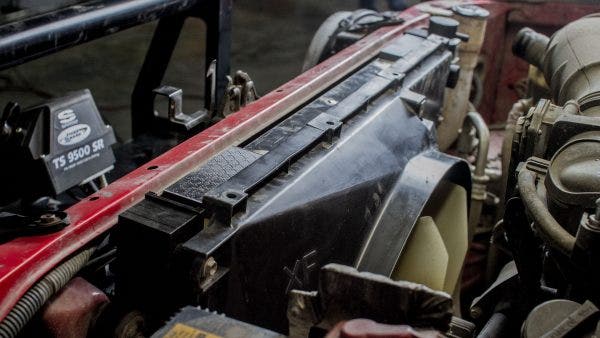
With the prototype complete, we could move on to the test fit. Once again, Ye removed the stock radiator and installed our prototype. Ye's careful measuring and scanning meant that the prototype fit like a glove, and the fan shroud bolted up without interfering with any of the engine components.
Once we knew our design would fit, we could begin the production process. However, before producing hundreds of radiators, we need to be sure nothing is lost or changed when we go from 3D printed end tanks and a fabricated core to a fully functional product. So, we made a one-off production sample, just as we would make every subsequent radiator, and prepared for another test fit. A few weeks after sending the design to production, we had the sample in hand. Ye removed her stock radiator one last time and then called on Mike to install the Mishimoto replacement.
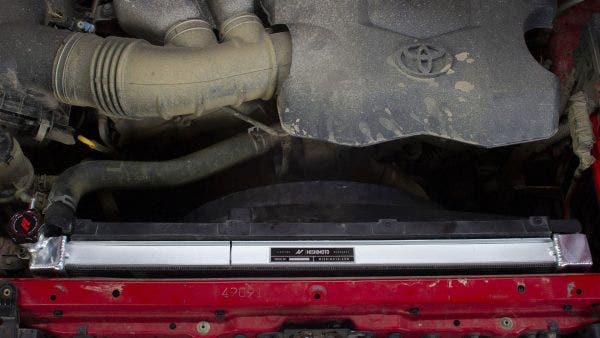
Our upgraded radiator features a 35% increase in core volume, a 52% increase in coolant capacity, and a massive 153% increase in fin surface area over the stock radiator. But, you wouldn't know it from the outside. Our significantly larger radiator fit just as well as the prototype.
Now that we know our 2007-2014 Toyota FJ Cruiser aluminum radiator fits, we can kick off full production. As always, let us know what you think!
2007-2014 Toyota FJ Cruiser Performance Radiator
Thanks for reading,
-Steve