BLOG CATEGORIES

Page 2 - track

  1. Flex-Free Cornering. Fiesta ST Trunk Brace R&D, Part 4: Testing Data

    Flex-Free Cornering. Fiesta ST Trunk Brace R&D, Part 4: Testing Data

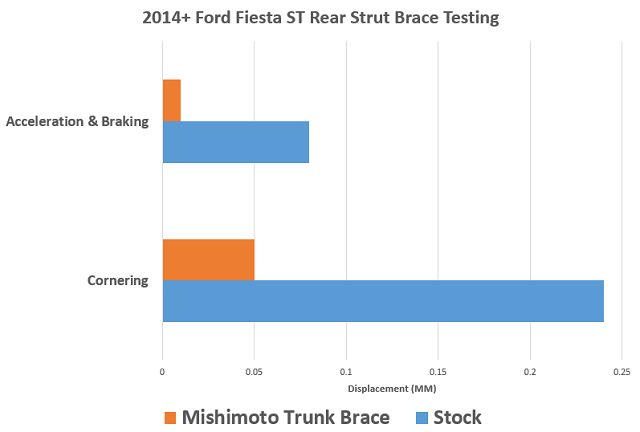
    The testing of our Fiesta ST rear strut brace involved three different driving conditions.

    Cornering: 30-40 mph, slalom

    Braking: 50-0 mph, stop with ABS engaged

    Acceleration: 0-60 mph, full-throttle run

    Each setup (with and without brace) was tested on the same day on an identical surface and with the same driver. The tests are repeatable and will provide an accurate comparison of rigidity in the rear body portion of our Fiesta.

    Results

    Check out the plot below to see our testing results.
    Fiesta ST performance results
    Fiesta ST performance results

    These data points confirm our theory that the addition of bracing in this area of the ST does indeed have an impact on flex. Although flex in these conditions was not excessive, we did see a bit of movement.

    Once the trunk brace was bolted into place, the results were very impressive; the brace reduced overall movement substantially. The acceleration and braking test saw less overall movement compared to our handling test. Movement during the acceleration and braking conditions
    Continue Reading »
  2. Flex-Free Cornering. Fiesta ST Trunk Brace R&D, Part 3: Functional Prototype and Test Rig

    Flex-Free Cornering. Fiesta ST Trunk Brace R&D, Part 3: Functional Prototype and Test Rig

    In our last update, we left you with some mock-up prototype pieces that we used to create and refine our Fiesta ST rear strut brace design. Since then, we've worked up a couple of functional prototypes to test our ideas for stiffening the rear of this hot hatch.

    Initial Prototypes

    We constructed two prototypes of this trunk brace. The first prototype is finished in a black powder coat, and we'll use this unit to evaluate for aesthetics and fitment. The unfinished ("raw") prototype is going to be used for testing purposes, meaning it will be modified.

    First, check out our powder-coated unit bolted into place.

    Mishimoto Fiesta ST performance parts
    Mishimoto Fiesta ST performance parts

    Mishimoto Fiesta ST performance parts
    Mishimoto Fiesta ST performance parts

    Everything fit nicely and bolted into position as designed. Check out a close-up shot of fitment with the lower tray support.

    Mishimoto Fiesta ST parts
    Mishimoto Fiesta ST parts

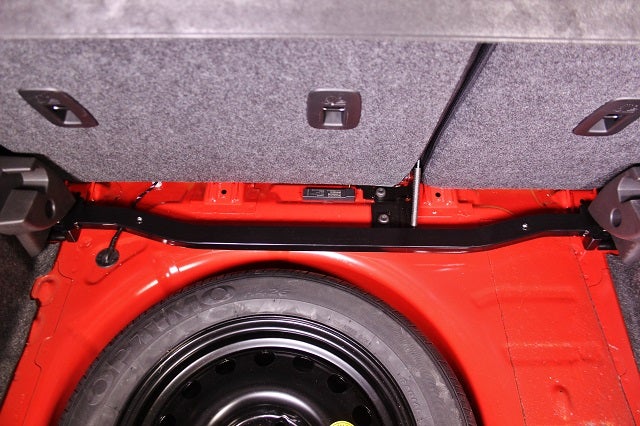
    With the lower tray in place the bracing is barely visible.

    Mishimoto Fiesta ST parts
    Mishimoto Fiesta ST parts

    Although this unit fit well and is extremely robust, we are going to make

    Continue Reading »
  3. Power through Deletion. 2015 WRX TGV Delete Kit, Part 4: Product Testing

    Power through Deletion. 2015 WRX TGV Delete Kit, Part 4: Product Testing

    We've got some interesting plans to evaluate the performance benefits of our TGV delete kit. In addition, we want to evaluate any appreciable differences in terms of air temperature between the two materials (aluminum and Delrin) we have selected for our prototypes.

    Test Preparation

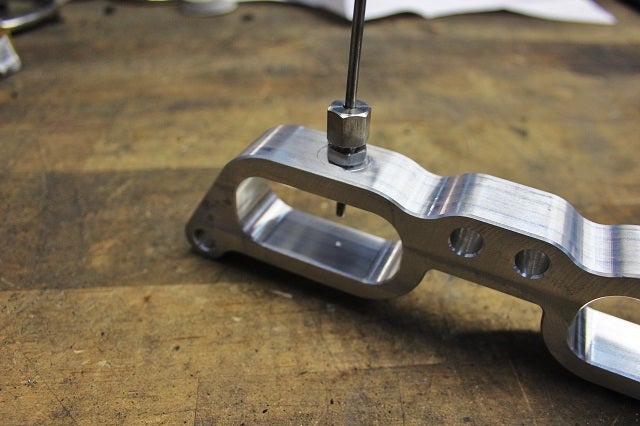
    For our first assessment, we will evaluate airflow temperatures in both materials during dyno testing. The goal here is to determine whether the different heat transfer properties of the two materials have an impact on the airflow within the TGV unit. Ideally we would use pre-TGV and post-TGV sensors to evaluate this, but for our initial test a single sensor will be used.

    We started by drilling and tapping each prototype.

    Initial Data

    We put together several plots to help analyze the data from our dyno pulls so we could reach a conclusion regarding appreciable temperature differences. First, a look at our initial runs with each material on both banks of the engine.

    2015 WRX parts testing data
    2015 WRX parts testing data


    The top-level data

    Continue Reading »
  4. Power through Deletion. 2015 WRX TGV Delete Kit, Part 3: First Prototypes

    Power through Deletion. 2015 WRX TGV Delete Kit, Part 3: First Prototypes

    We're back with another quick update on our TGV delete project for the 2015+ WRX. After designing our initial models and then 3D-printing a prototype for test fitting, we worked up a couple functional prototypes for on-car testing.

    First Prototype Images

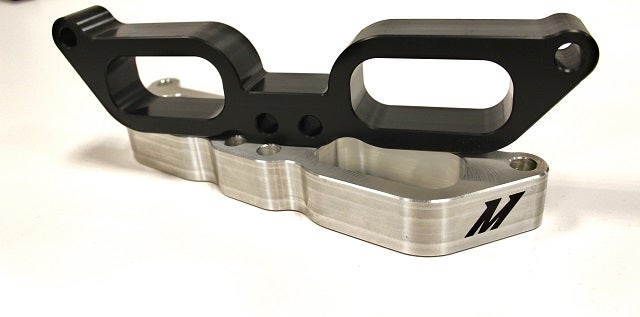
    Check out a few images of our functional prototype deletes!

    Mishimoto's 2015 WRX TGV delete prototypes

    Mishimoto's 2015 WRX TGV delete prototypes

    Mishimoto's 2015 WRX TGV delete prototypes

    Mishimoto's 2015 WRX TGV delete prototypes

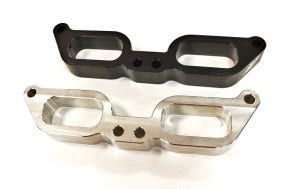
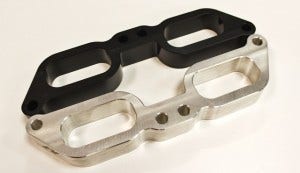
    As you can see, we have two different prototypes. Although the shape and design are the same, these prototypes are composed of different materials. The polished unit is a CNC-machined aluminum piece. The black prototype is machined from Delrin, a thermoplastic material.

    We want to explore any differences in intake temperatures provided by the alternate materials. As you can imagine, thermoplastic has very low thermal conduction properties, meaning it is less likely to heat-soak and is more resistant to heat transfer. That said, the surface area that actually comes into contact with the internal

    Continue Reading »
  5. Power Through Deletion. 2015 WRX TGV Delete Kit, Part 2: 3D-Printed Prototype Test Fit

    Power Through Deletion. 2015 WRX TGV Delete Kit, Part 2: 3D-Printed Prototype Test Fit

    3D-Printed Prototypes

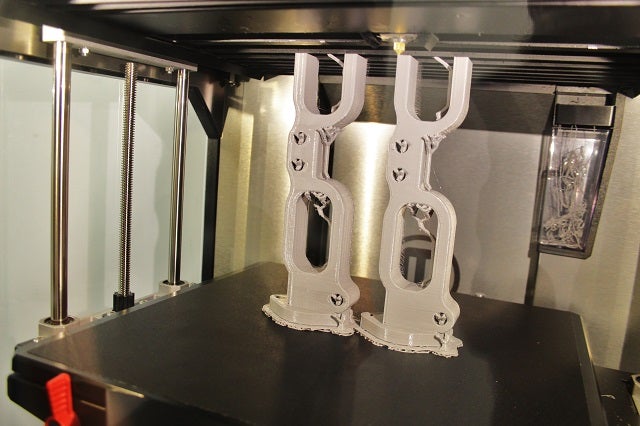
    To confirm the dimensions and design of our prototype, we decided to utilize some of our rapid prototyping tools. We fired up our 3D printer and loaded the model. Check out a couple images showing the progress of the print.

    3D-printing 2015 WRX parts
    3D-printing 2015 WRX parts

    3D-printing 2015 WRX parts
    3D-printing 2015 WRX parts

    Once the printing process was complete, we cleaned up the prototypes and installed them on our 2015 WRX to verify fitment.

    3D-printed 2015 WRX parts
    3D-printed 2015 WRX parts

    3D-printed 2015 WRX TGV delete installed
    3D-printed 2015 WRX TGV delete installed

    You will notice these prototypes include a rear flange to attach to the TGV solenoid. We experimented with a design that retains the flange, in order to bolt the stock solenoids in place for visual inspection purposes. After evaluating this setup, we decided the flange was unnecessary and removed it from the design. Our two functional prototypes will be more similar to our original 3D models.

    Coming up - Functional Prototypes

    With fitment confirmed, we began working up a couple functional prototypes for product

    Continue Reading »
  6. Power Through Deletion. 2015 WRX TGV Delete Kit, Part 1: Design and 3D Prototypes

    Power Through Deletion. 2015 WRX TGV Delete Kit, Part 1: Design and 3D Prototypes

    It's been nearly two years since our first 2015 WRX development vehicle rolled into the shop. We've had a lot of fun with the car, and our team has developed a multitude of awesome components to aid in cooling, elevate power, and improve styling. Our product line is essentially complete, meaning we are done wrenching on our WRX. This is bitter sweet, as we will be picking up another vehicle to start the process once again. Before shipping out the WRX, we had one more project up our sleeves to extract a touch more power.

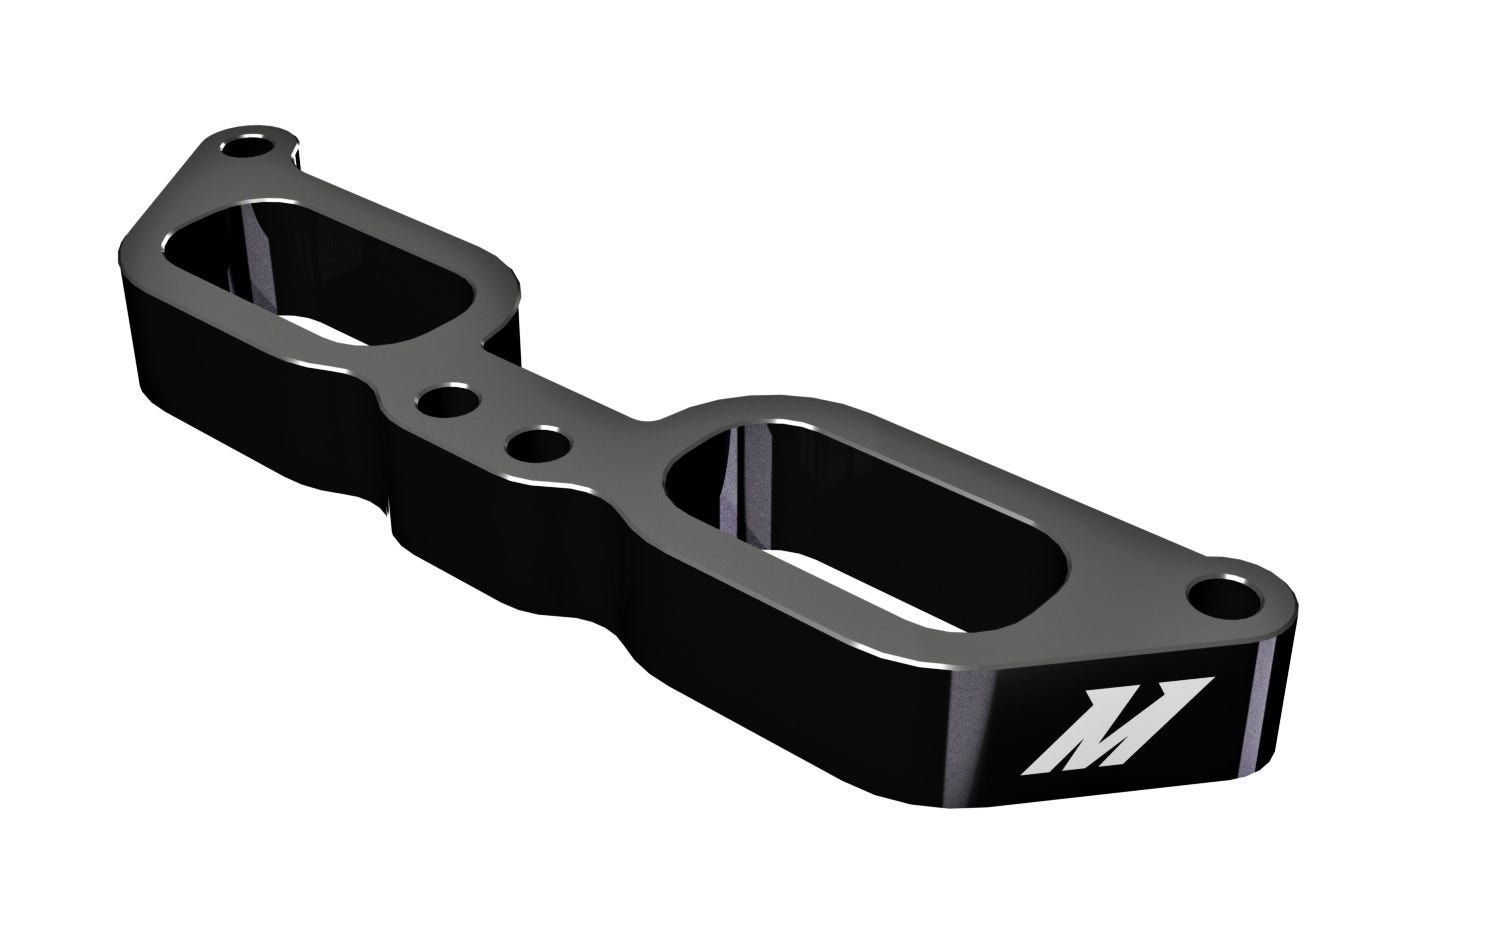
    With our existing modifications, including our downpipe, intake, and cat-back exhaust system, most customers are making in the neighborhood of 290 whp and 310 wtq. Not bad for some simple bolt-on modifications and ECU tuning. We've been eyeing TGV modifications and have seen the impressive effects on Subarus from previous model years. We decided to open up the intake system on our 2015 to see if we could design a delete system that would deliver a few extra ponies.

    Stock

    Continue Reading »
  7. Working on a cooler Coyote - Oil Cooler R&D, Part 1: Initial Prototype

    Working on a cooler Coyote - Oil Cooler R&D, Part 1: Initial Prototype

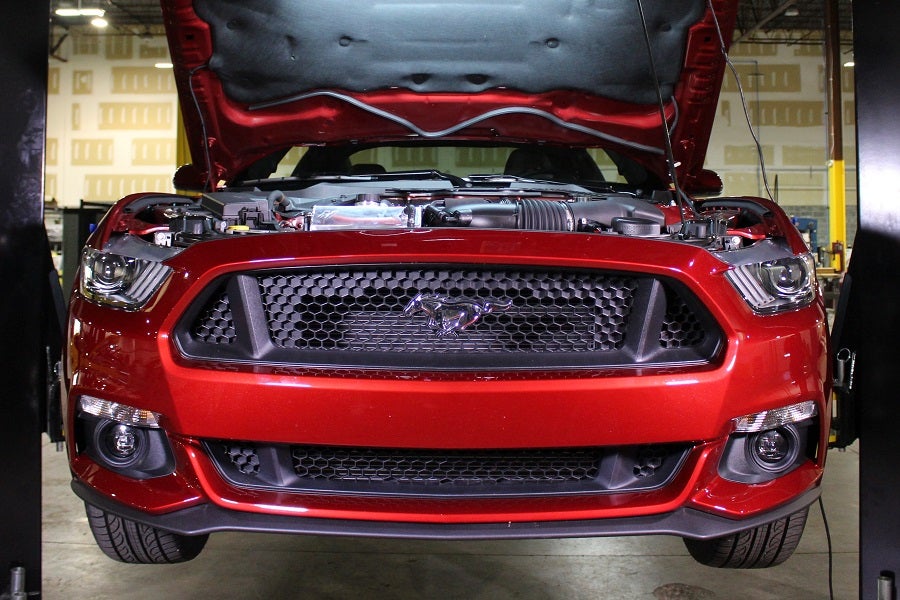
    Here at Mishimoto headquarters we are working to expand our arsenal of Mustang parts. We are making significant progress on our oil cooler design, and an interesting design it is. We are aware that many Mustang GT owners are adding forced induction to their already powerful V8s. We are taking this into account by offering an oil cooler that would still leave room for some of the larger intercoolers required for aftermarket turbo and supercharger kits. This strategy created quite a challenge for our engineers. As always, they rose to the occasion and created a brand new and unique cooler design specifically for our beloved GT. Drumroll please!

    Rather than designing a traditional bracket for this all-new oil cooler, our engineers went with an interesting design. Modeling the bracket after one of the plastic upper air diverters, the new bracket will replace the diverter as the bracket for the cooler. Because a picture really is worth a thousand words, check out some photos of the first oil

    Continue Reading »
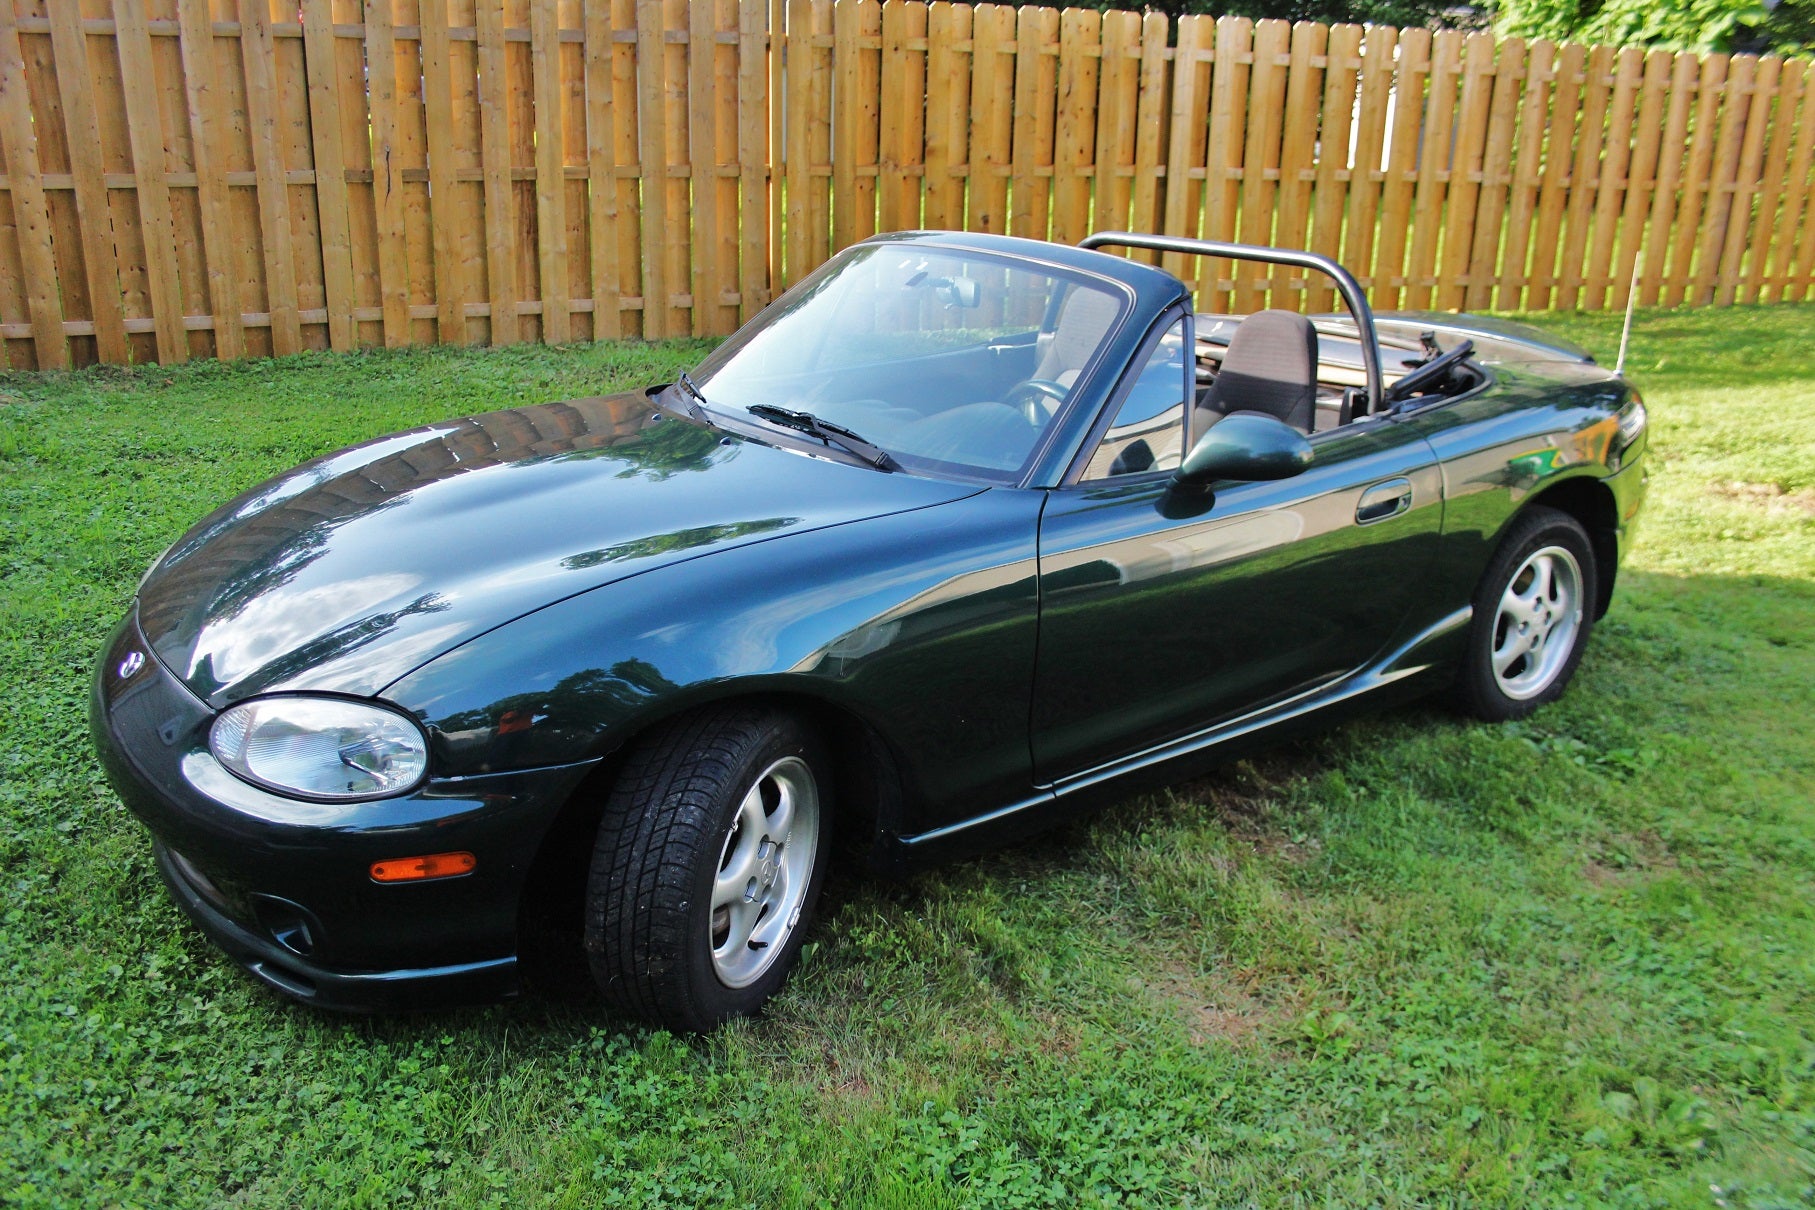
  8. Mazda Miata NB Oil Cooler R&D, Part 4: On-Road Testing

    Mazda Miata NB Oil Cooler R&D, Part 4: On-Road Testing

    Interested in picking up our NB Miata oil cooler kit? Check out our discounted pre-sale linked below.

    Mishimoto 1999-2005 Mazda Miata Oil Cooler Kit Pre-Sale!

    Our idle warmup provided a nice baseline test to evaluate the benefit of the stock liquid-to-liquid oil cooler. From what we saw in the conditions of our first test, warmup is not greatly affected by this component. In this second portion of product testing, we will be evaluating the impact of this heat exchanger on cooling performance. More importantly, we will be evaluating the cooling benefits of our liquid-to-air cooler.

    Testing Plans

    Variations

    • Stock liquid-to-liquid heat exchanger
    • Mishimoto oil cooler setup
    • Mishimoto oil cooler setup plus stock liquid-to-liquid heat exchanger

    By testing the Mishimoto oil cooler both with and without the stock heat exchanger, we can determine if this piece is helping reduce temperatures, or if the coolant temperatures are causing a rise in oil temperatures. This conclusion will allow our team

    Continue Reading »
  9. Keeping The Party Cool! Mishimoto's Ford Fiesta ST Radiator R&D, Part 5: Initial Testing Results

    Keeping The Party Cool! Mishimoto's Ford Fiesta ST Radiator R&D, Part 5: Initial Testing Results

    Interested in picking up our Fiesta ST aluminum radiator? Check out ourΒ the product page below.

    Mishimoto 2014+ Ford Fiesta ST Aluminum Radiator

    After quite an extensive developmental process, we're finally ready for some Ford Fiesta ST (FIST) radiator testing. This portion of our R&D process is crucial, as it will determine if our design is perfect or requires minor tweaks, or if the slate needs to be wiped clean for a fresh start. This particular radiator is unlike most that we develop. FIST owners are getting in trouble on the track, and no good solution to rising coolant temperatures has yet been found. We've attributed this to inefficiencies in both airflow and the inadequate stock FIST radiator. In order to fit a larger, more efficient radiator, we've had to modify the stock fan shroud. In doing so, we've created the space needed for the thicker radiator core, and we've managed to retain the stock fan. Check out the prototype.

    Mishimoto Ford Fiesta radiator shroud assembly
    Mishimoto Ford Fiesta radiator shroud assembly

    Let's

    Continue Reading »
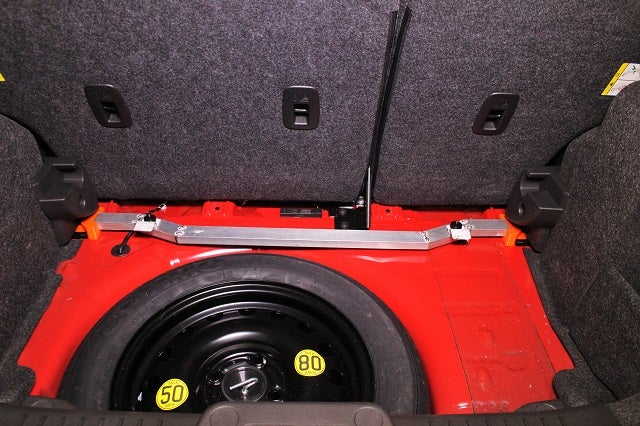
  10. Flex-Free Cornering. Fiesta ST Trunk Brace R&D, Part 2: Prototype Completion

    Flex-Free Cornering. Fiesta ST Trunk Brace R&D, Part 2: Prototype Completion

    We left off development with a neat look at our first prototype, when we determined the shape and path of our brace and printed out mounting brackets for each side of the piece. By using specific angles with our square material, we were able to avoid modification of the seat mounting bracket, retain rigidity, and provide a bar that is easily hidden by the rear tray.

    Our last image showed our fabricator tacking together the material. Below is what we ended up with.

    Prototype Fiesta ST rear strut brace installed
    Prototype Fiesta ST rear strut brace installed

    We then installed the floor panel mounting covers.

    Prototype Fiesta ST rear strut brace installed
    Prototype Fiesta ST rear strut brace installed

    Let's take a closer look at how the plastic interior components sit with respect to our brace mounts.

    Prototype Fiesta ST rear strut brace installed
    Prototype Fiesta ST rear strut brace installed

    As you can see, the height of our mounts will prevent use of the lower mounting position for the rear tray. We want this bar to allow the tray to fit in both the lower and upper positions, retaining all intensions from the factory design.

    Continue Reading »