
Snap and Spin - 360 Imaging turntable - Equipment Profile
Here on the Mishimoto Engineering blog, we often put our high-tech engineering tools on display. Tools like our DynaPacks, Faro Design ScanArm, or 3D printers are crucial components to our engineering process. Each of them provides us with precise performance feedback or increases efficiency when designing products, making them invaluable in the engineering process. But what happens after the engineering is completed? Naturally, we needed a method of showing off new parts that's on par with all of the other sophisticated tools in our arsenal.

Enter the Ortery PhotoCapture 360 turntable. Of course, we already perform most of our product photography here at the R&D facility, but adding 360 imaging to our toolkit was the next step in showing off every detail of engineering that goes into our products. 360 imaging is a bit more complex than your standard product photography, though, so let's dig into everything that makes our system tick.
Step one is the preparation and setup. Most of the actual photography is done through the Ortery software, but no amount of post-processing can save a shoot with poor preparation, especially when the subject is moving. So, before we can even open up the program, we need to lock in the lighting and props.
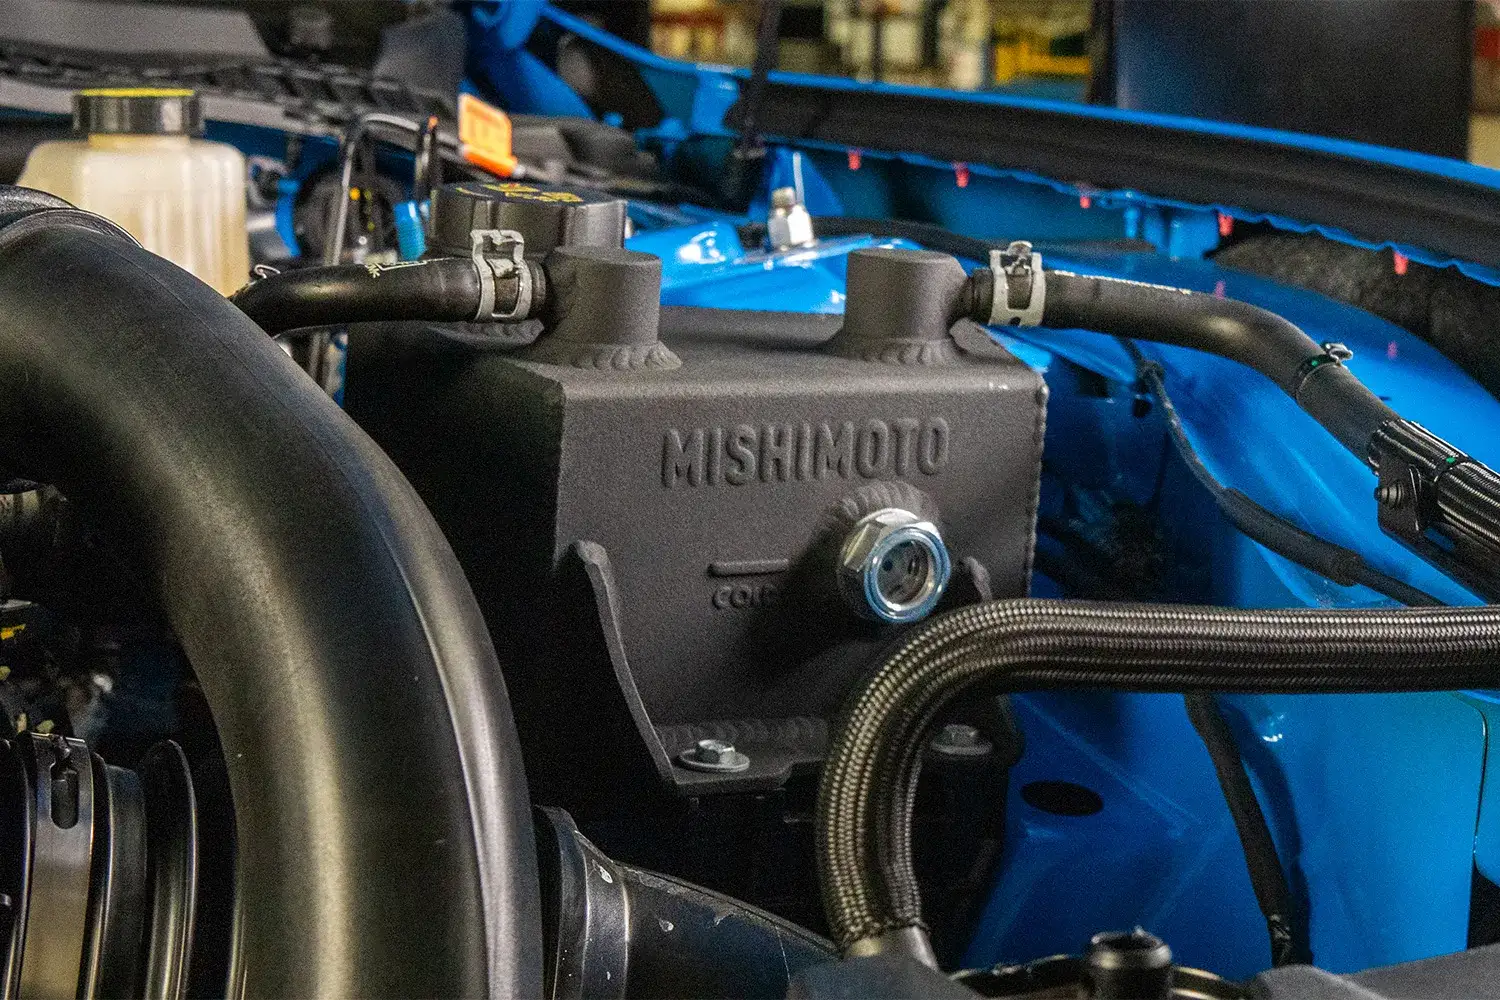
Because we engineer all shapes, sizes, and colors of products, the lighting setup might need adjustment to make sure every crevice is illuminated. Of course, our studio already features an array of lighting, but depending on the product's finish, we might need to adjust the lighting to suit. Solid powder-coated finishes or polished products pose challenges for lighting, but retractable curtains allow us to eliminate reflections or highlight products as needed.

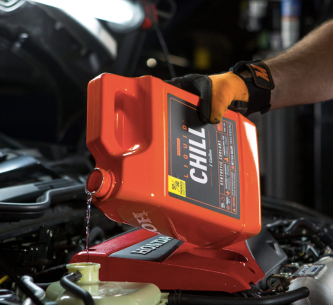
Making sure the product stays upright is next. Automotive components are uniquely shaped to fit snugly in the engine bay. Because of this, we've collected an array of props that keep our products level as they make their rotation.


The Ortery Capture program is the brains of the operation and controls the turntable and camera to automate most of the process. One of the most important steps is to properly align the product, ensuring the product spins on a steady axis instead of wobbling around in the frame. Then, with the product centered on the turntable, it's almost time to shoot.

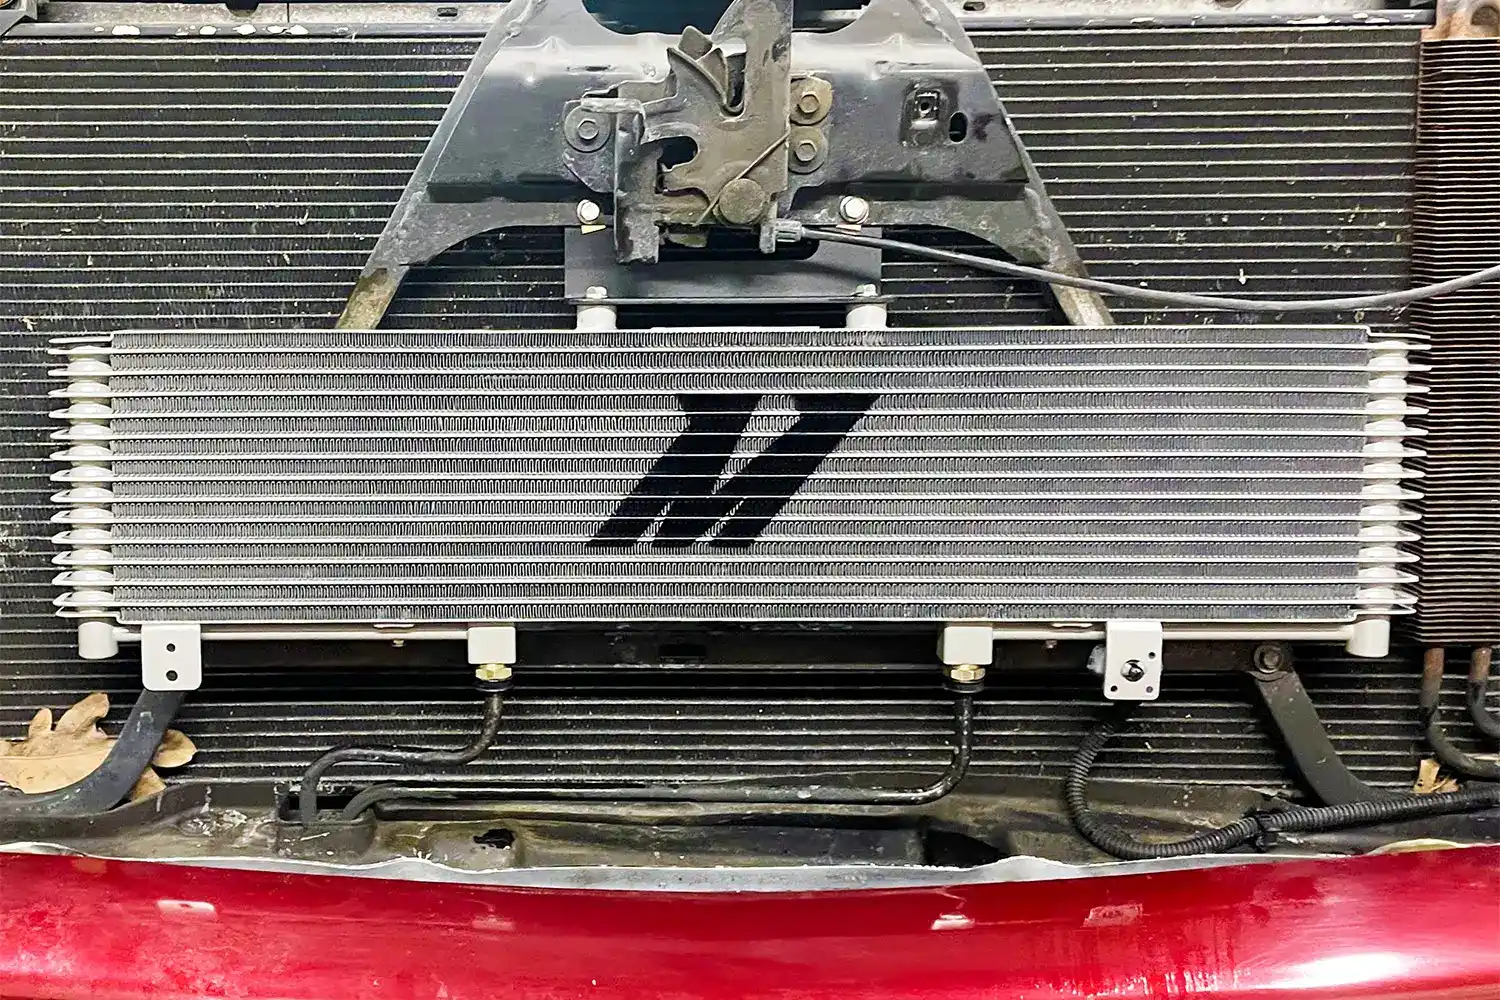
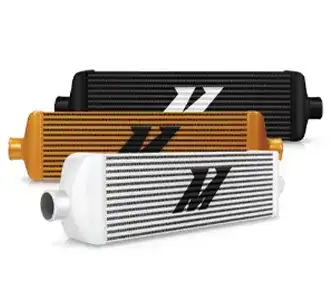
Now comes the easy part, running the automation. We built up a repertoire of custom automations depending on the product. For example, our radiator automation includes four stops to transfer or remove the backing sheet, so we don't have a transparent line running through them.
With the automation and camera settings selected, it's time to capture every angle of the product. For the best use across all platforms, we opted for 24 total frames, which means the automation snaps a photo for every 15° of rotation. This gives you a complete view of our freshly engineered product while also reducing time spent in post-processing.


Even with careful preparation, every photo still needs a touch-up. Thanks to meticulous prep, the post-processing side of the process is streamlined to a simple process. For starters, we typically already have our camera settings to overexpose the whites a bit, so most of the props and unwanted details in the background just melt away. We still need to make adjustments to ensure the background is pure white and pick out any parts of the props that might have still shown up on the raw photographs. With the background cleaned up, the final photos are packaged up in a ZIP folder and shipped off to our website for viewing.


The Mishimoto R&D facility houses plenty of equipment for the precise engineering of performance products, so naturally, we needed to up our game when putting these products on display. Make sure to look for the 360 logos in the product photos section the next time you're browsing through our main site to get an encompassing look at our products.

Thanks for Reading!
-Nick