Let Your Ponies Be Heard - Exhaust Component R&D, Part 2: The H-Pipe
After coming up with a game plan we were ready to tackle the first portion of the Mustang GT exhaust, the resonator. We began this exhaust project a bit differently than projects in the past, we began with the waterjet.
How, you might ask, are we going to produce a prototype made of piping on the waterjet? We're not! To save time and improve accuracy, we will use a jig to create the first prototype H-pipe and X-pipes. Our hopes are that they will provide more precise prototypes that need less revision, therefore saving time. We will also use the same jig for production, so that each resonator delete produced will have the same great fitment as the prototype that we create.
With that said, we fired up the waterjet and began cutting our jig.
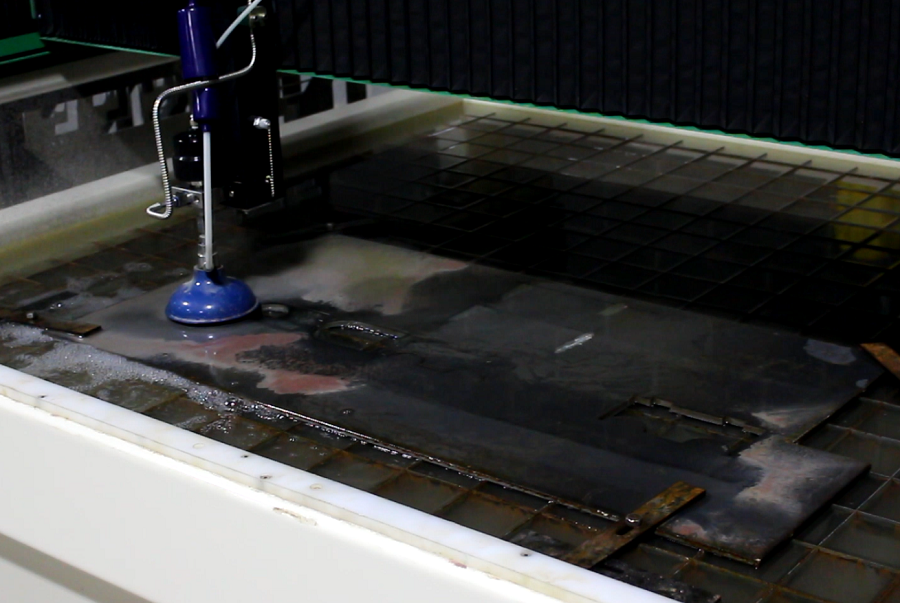
Cutting our Mustang H-pipe jig on the waterjet
Creating the Prototype
These first pieces of the jig are specific for our H-pipe. We will use the jig as a tool to map the path that our H-pipe needs to take in order to fit perfectly on our GT.
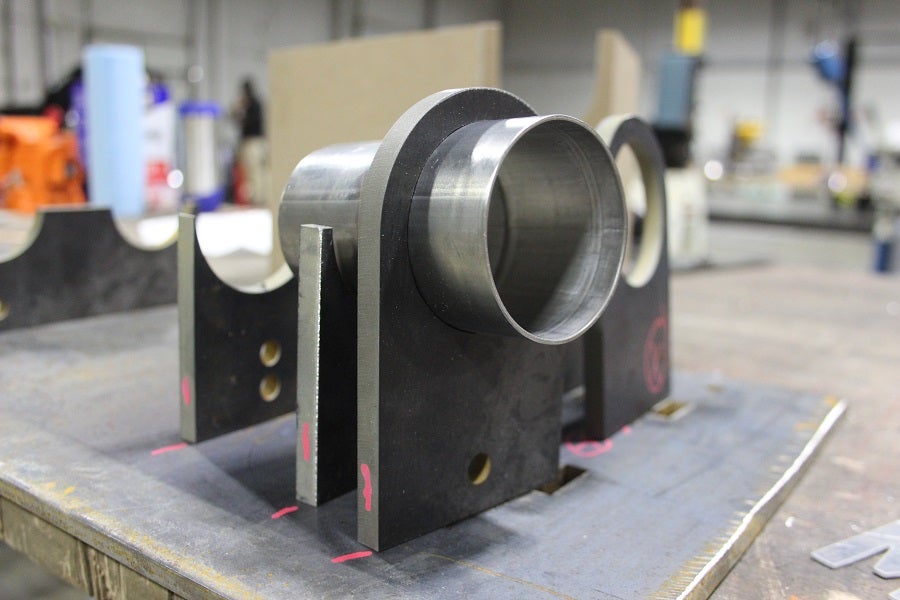
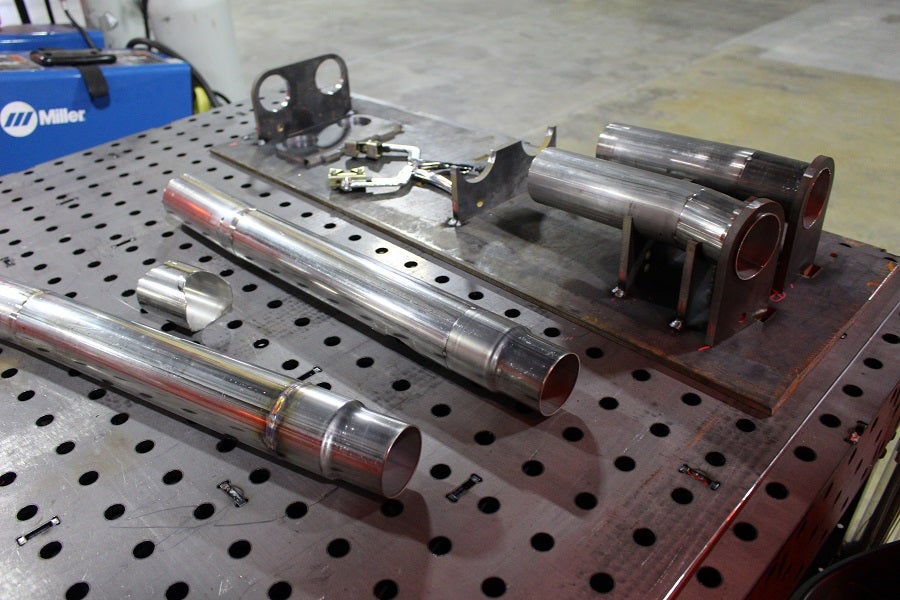
Mustang H-pipe pieces resting in the jig
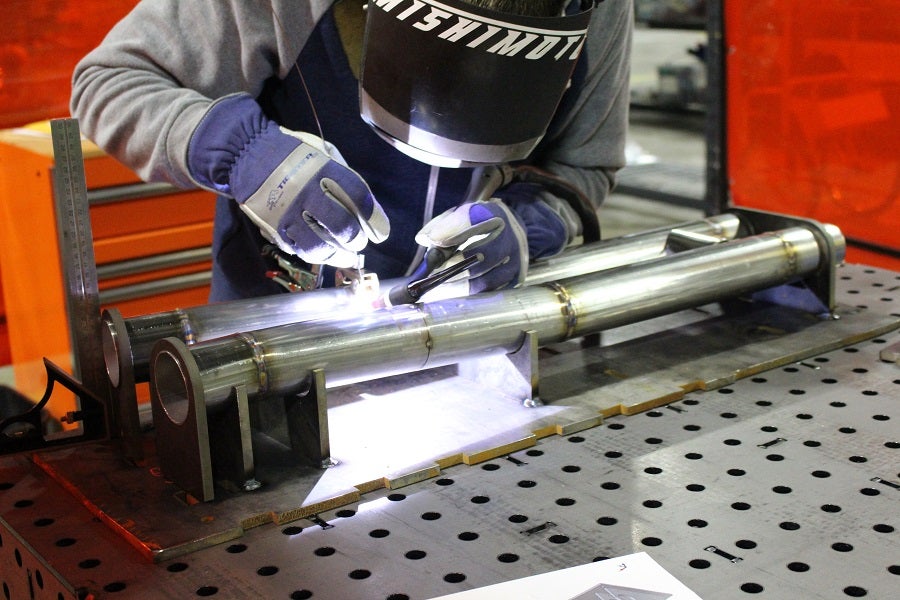
Once we cut our exhaust piping to the appropriate length and bend, we pieced together the H-pipe in our jig. Some of the pieces were tack-welded together to get the project going, but the majority of the H-pipe was done while the pieces rested in our jig.
Mustang H-pipe pieces resting in the jig
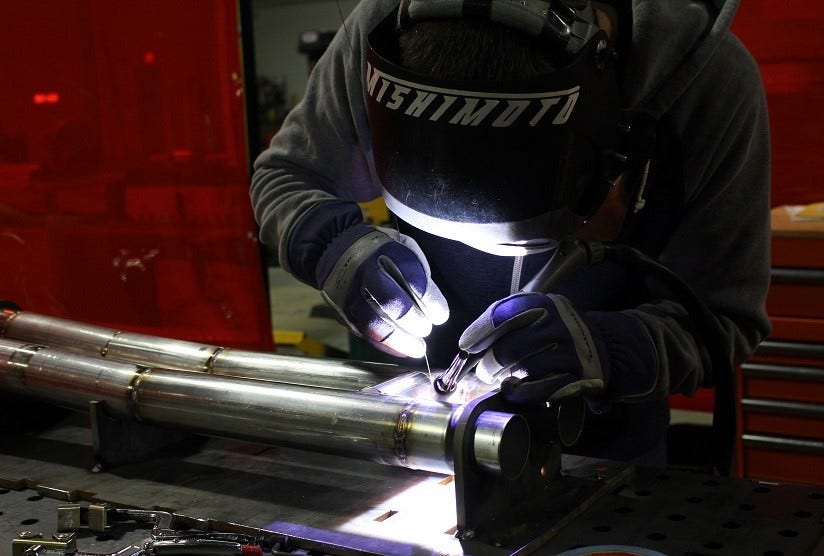
Welding the resonator delete while in the jig will not only make it easier to remember the shape and bends as the piping comes together, but also it will help to ensure that the metal won't warp. The heat from the welder can change the bends in the pipe slightly, but even a slight change could affect the fitment drastically. Sure enough, the jig allowed for the creation of a great looking and fitting prototype. Check out some photos below.
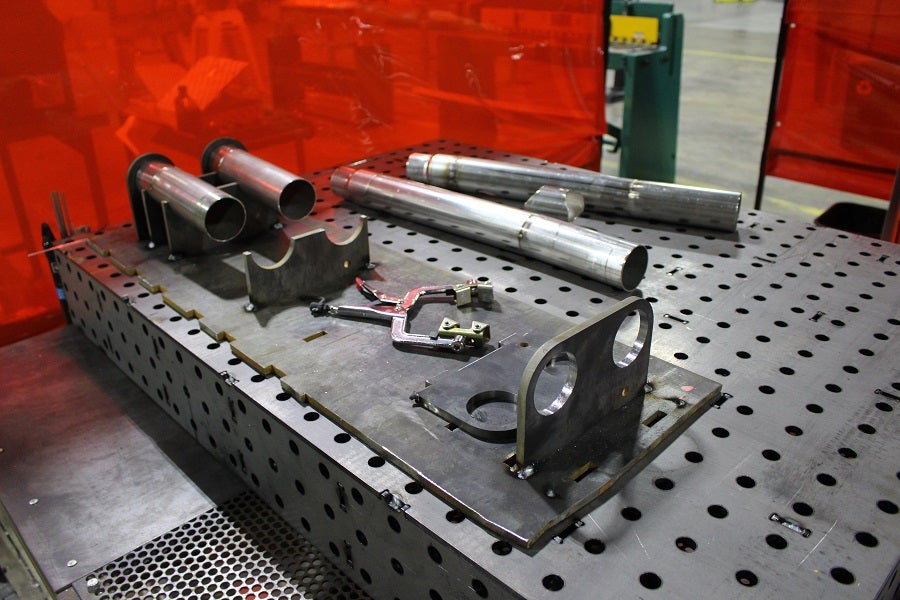
Mustang H-Pipe pieces resting in the jig
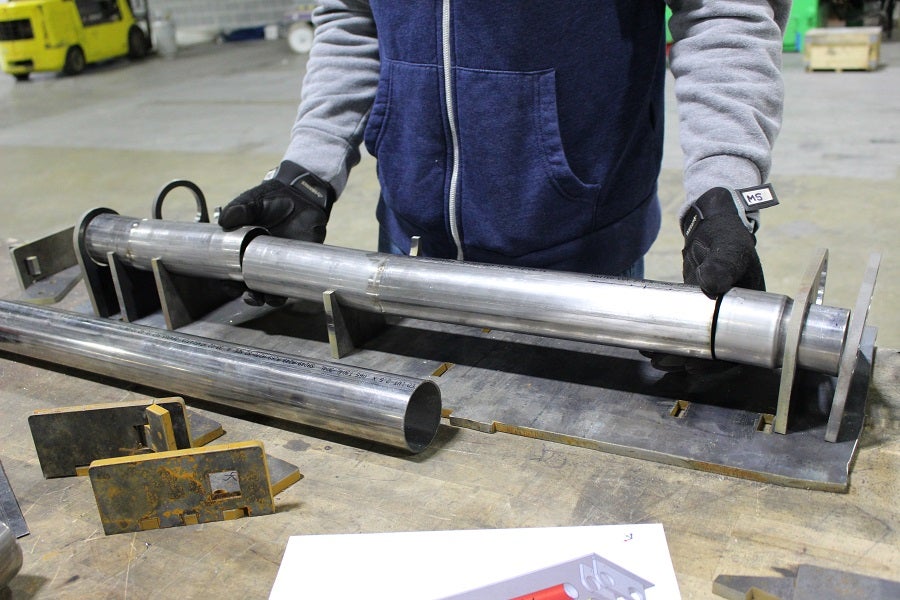
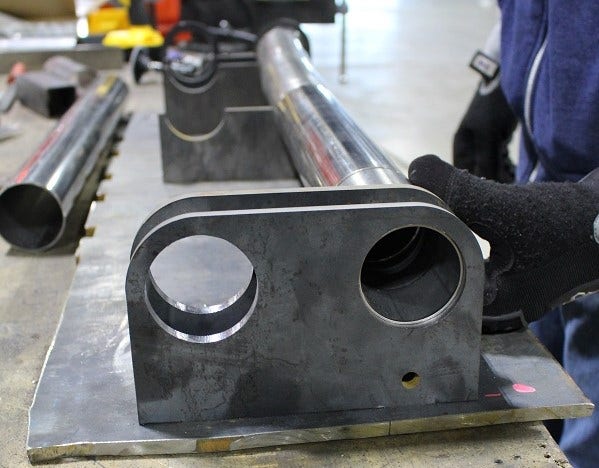
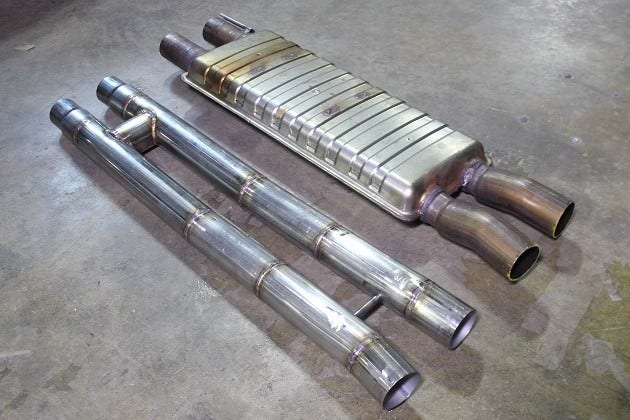
Mustang GT exhaust components
Mustang GT exhaust components
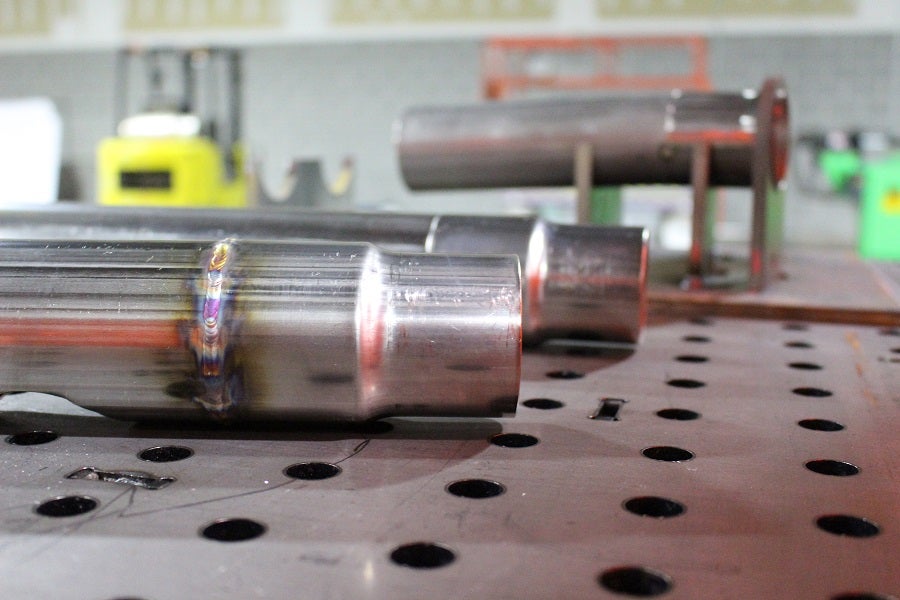
Mustang GT exhaust components
Mustang H-Pipe pieces resting in the jig
Mustang H-Pipe pieces resting in the jig
Test-Fitting
Now that we have a functioning prototype, we can test fit the H-pipe on our Mustang GT. First we needed to measure out the proper section on our stock exhaust in order to decide precisely where to make our cut. We sliced into the stock exhaust just after the resonator where the pipes part ways towards each side of our Mustang. We are planning to utilize the stock exhaust clamps for the front of the H-pipe, and we will include a second set of clamps to attach our H-pipe to the rest of the exhaust.
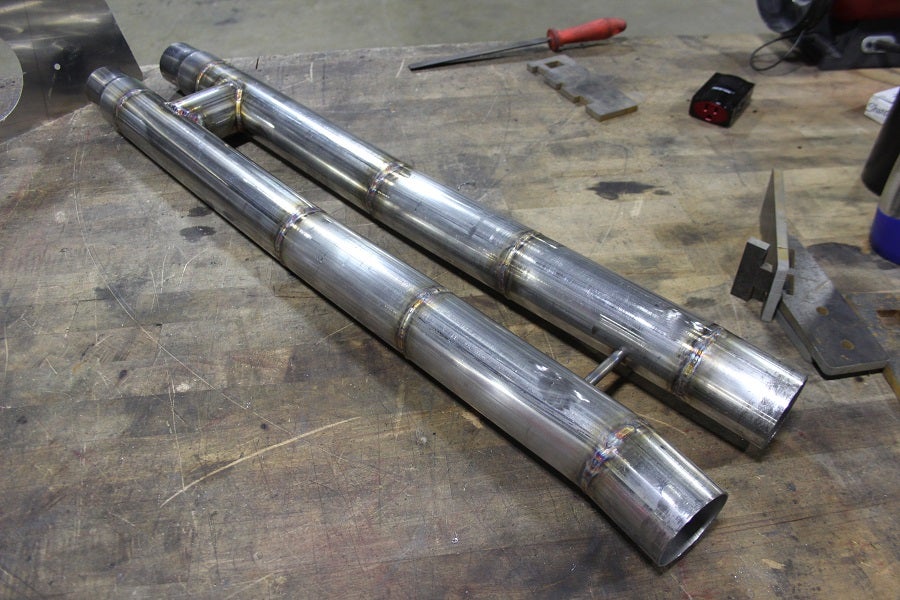
Finished Mustang H-pipe prototype
Mustang H-pipe and stock resonator
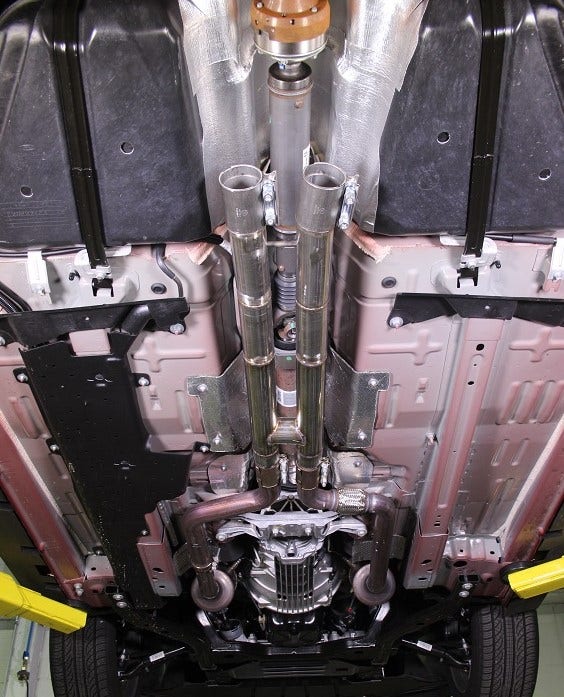
Mustang H-pipe prototype installed
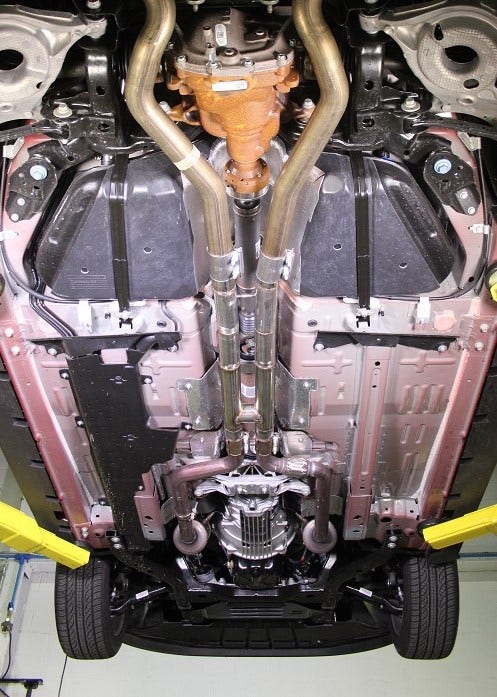
Mustang H-pipe prototype installed
Coming Up
Now that the H-pipe is complete and looking great, we can turn our attention to a Mustang X-pipe design. We are planning to create three different X-pipe prototypes for testing, each with a slightly different design. Stay tuned for a look at our Mustang X-pipe designs!
Thanks for reading!
-Sara