Baby You're an Aux Rad - Auxiliary Radiator R&D, Part 3: 3D Print Test Fit
2016+ Camaro Auxiliary Radiator Discounted Pre-Sale has begun!
When we left off last time, I teased you a bit with a couple of 3D models representing the possible directions in which we might be taking the Mishimoto Camaro SS auxiliary radiator design. We have continued the discussion among our engineering team and have not yet come to a conclusion on how to proceed. We have, however, taken action to explore both options in greater depth.
We felt that fitment and compatibility with stock radiator ducting is definitely one of this project's more important considerations, so we wanted to get an idea of how the two designs compared in this regard; the more information we can gather, the better! We hit up our trusty 3D printer to give us something to throw behind the menacing front end of our SS for a test fit.
Wait, two radiators? Two designs? I'm confused.
That's OK, I was too! Let me explain"
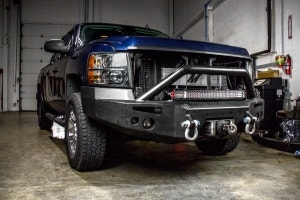
For those of you who are just joining us, the 2016 Camaro SS has a very unique cooling system that includes an auxiliary radiator on either side of the primary radiator, for a total of three radiators. To learn more about this trinity of cooling power, check out the first post on the auxiliary 2016 Camaro Radiator system.
Additionally, we are looking into two possible designs for how to tackle this project. Both are all-aluminum and engineered by the one-and-only Steve, our good friend, engineer, and up-and-coming YouTube sensation.
Check out this artist's rendition by the wonderful Sara Riordan.
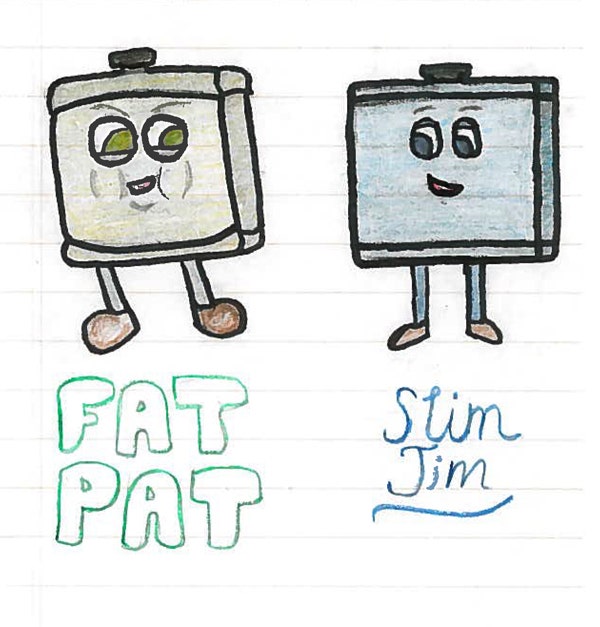
*Not to scale - colors may vary; final prototype may or may not have a face.
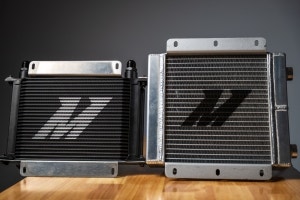
Prototype #1: Slim Jim: Similar in size to OEM; lighter, denser core.
Prototype #2: Fat Pat: Built like a linebacker, this guy is narrower than OEM, but somewhat taller and thicker.
To see 3D models of both aforementioned designs and to learn more about the project, check out the second post, wherein we highlighted the details of these 2016 Camaro parts.
That's fine, but I am an online consumer and I respond much better to photos than text.
Gotcha. Ask and you shall receive! We tested both designs, but Fat Pat is the one here in the spotlight, as Slim Jim fits pretty much the same as stock.

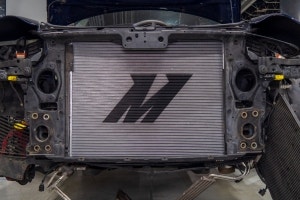
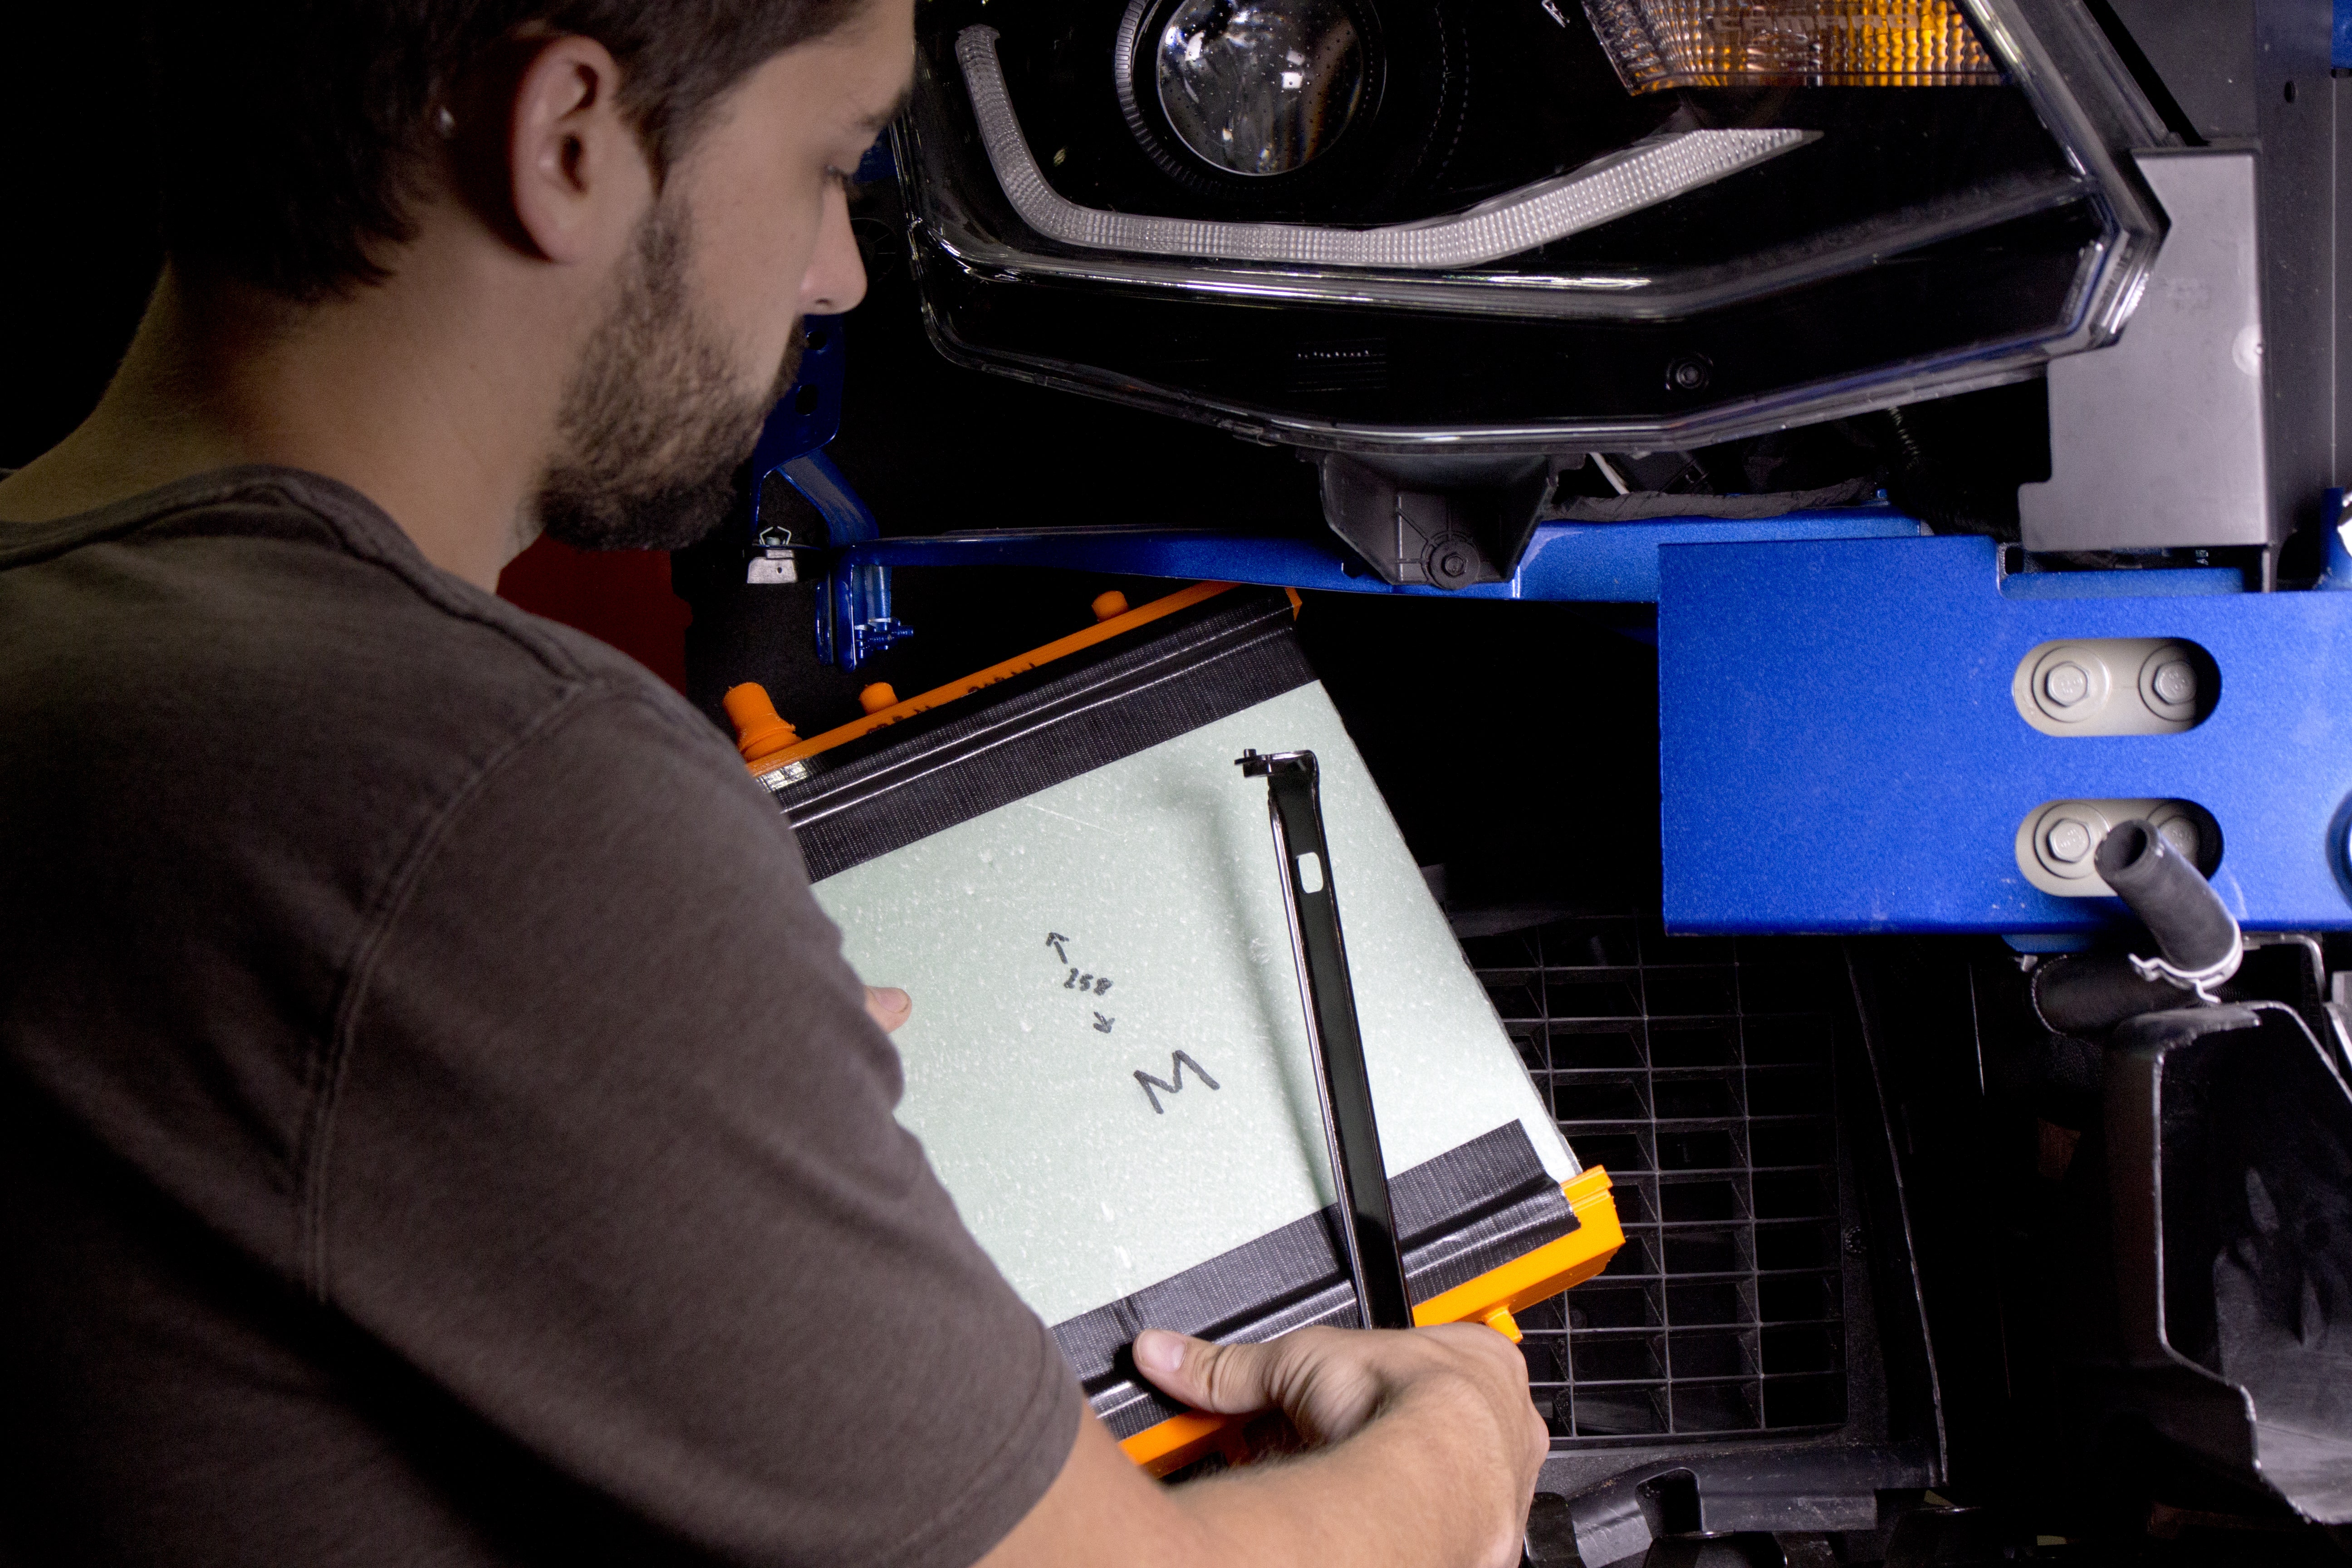
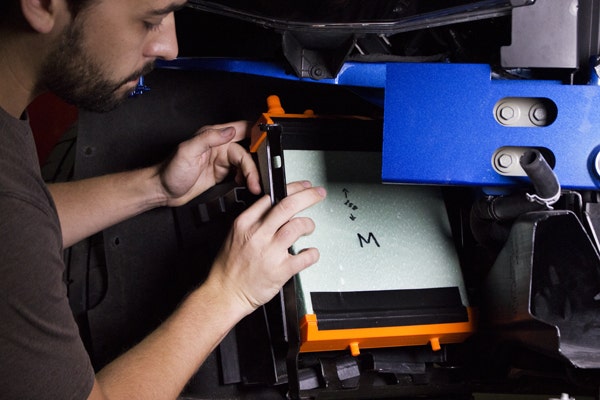
Here's a nice shot of Steve, man-handling Fat Pat into position.
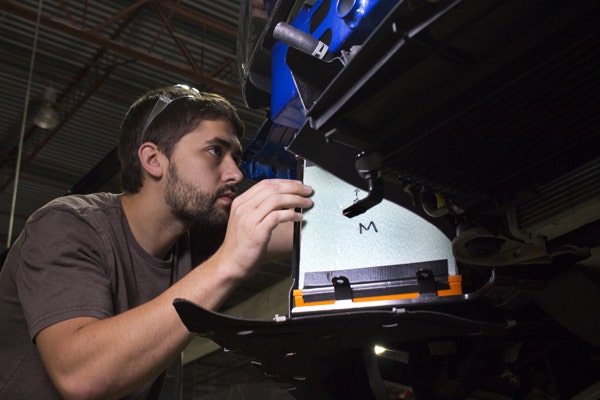
Once the radiator is in place, taking measurements is important in analyzing fitment.
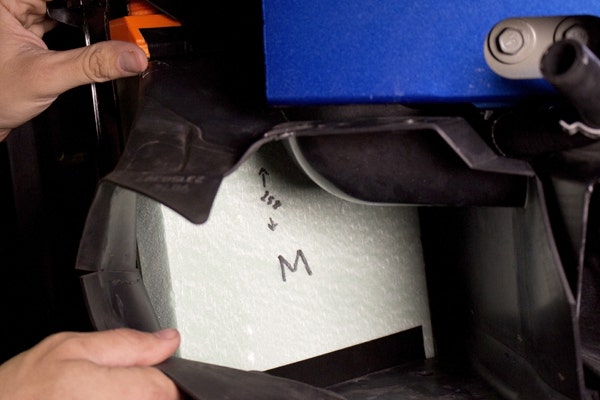
With the ducting back on, we start to get an idea of how airflow might be ducted through our heat exchanger.
Given the taller, narrower, fatter nature of this design, we weren't sure how close we'd be cutting it with the stock ducting or how flexible the ducting might be to a non-stock-sized heat exchanger. Based on this test fit, it looks like Fat Pat might necessitate a new fan shroud to maximize airflow and fit to our liking. We will take this into account as we decide how to proceed, but if Fat Pat wins out, you can be sure that any necessary ducting will be included with the radiators.

Why you gotta be so tall?!
Coming Right Up"
The epic face-off between these two characters has not yet reached its conclusion. Coming soon, we'll have some aluminum prototypes for test fitting and data collection. Stay tuned for more!
Until next time,
-Gardiner