Posted:
March 22, 2016
Categories:
Subaru Forester XT Intake 2014+
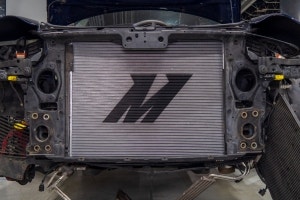
Last time we posted about this Forester XT intake project, we left you off with prototype fitment. Testing is now complete and we have some information to share.
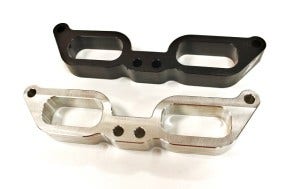
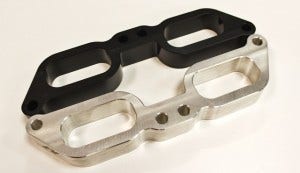
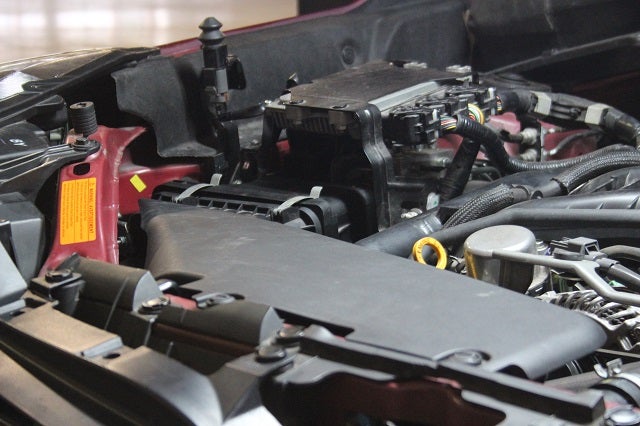
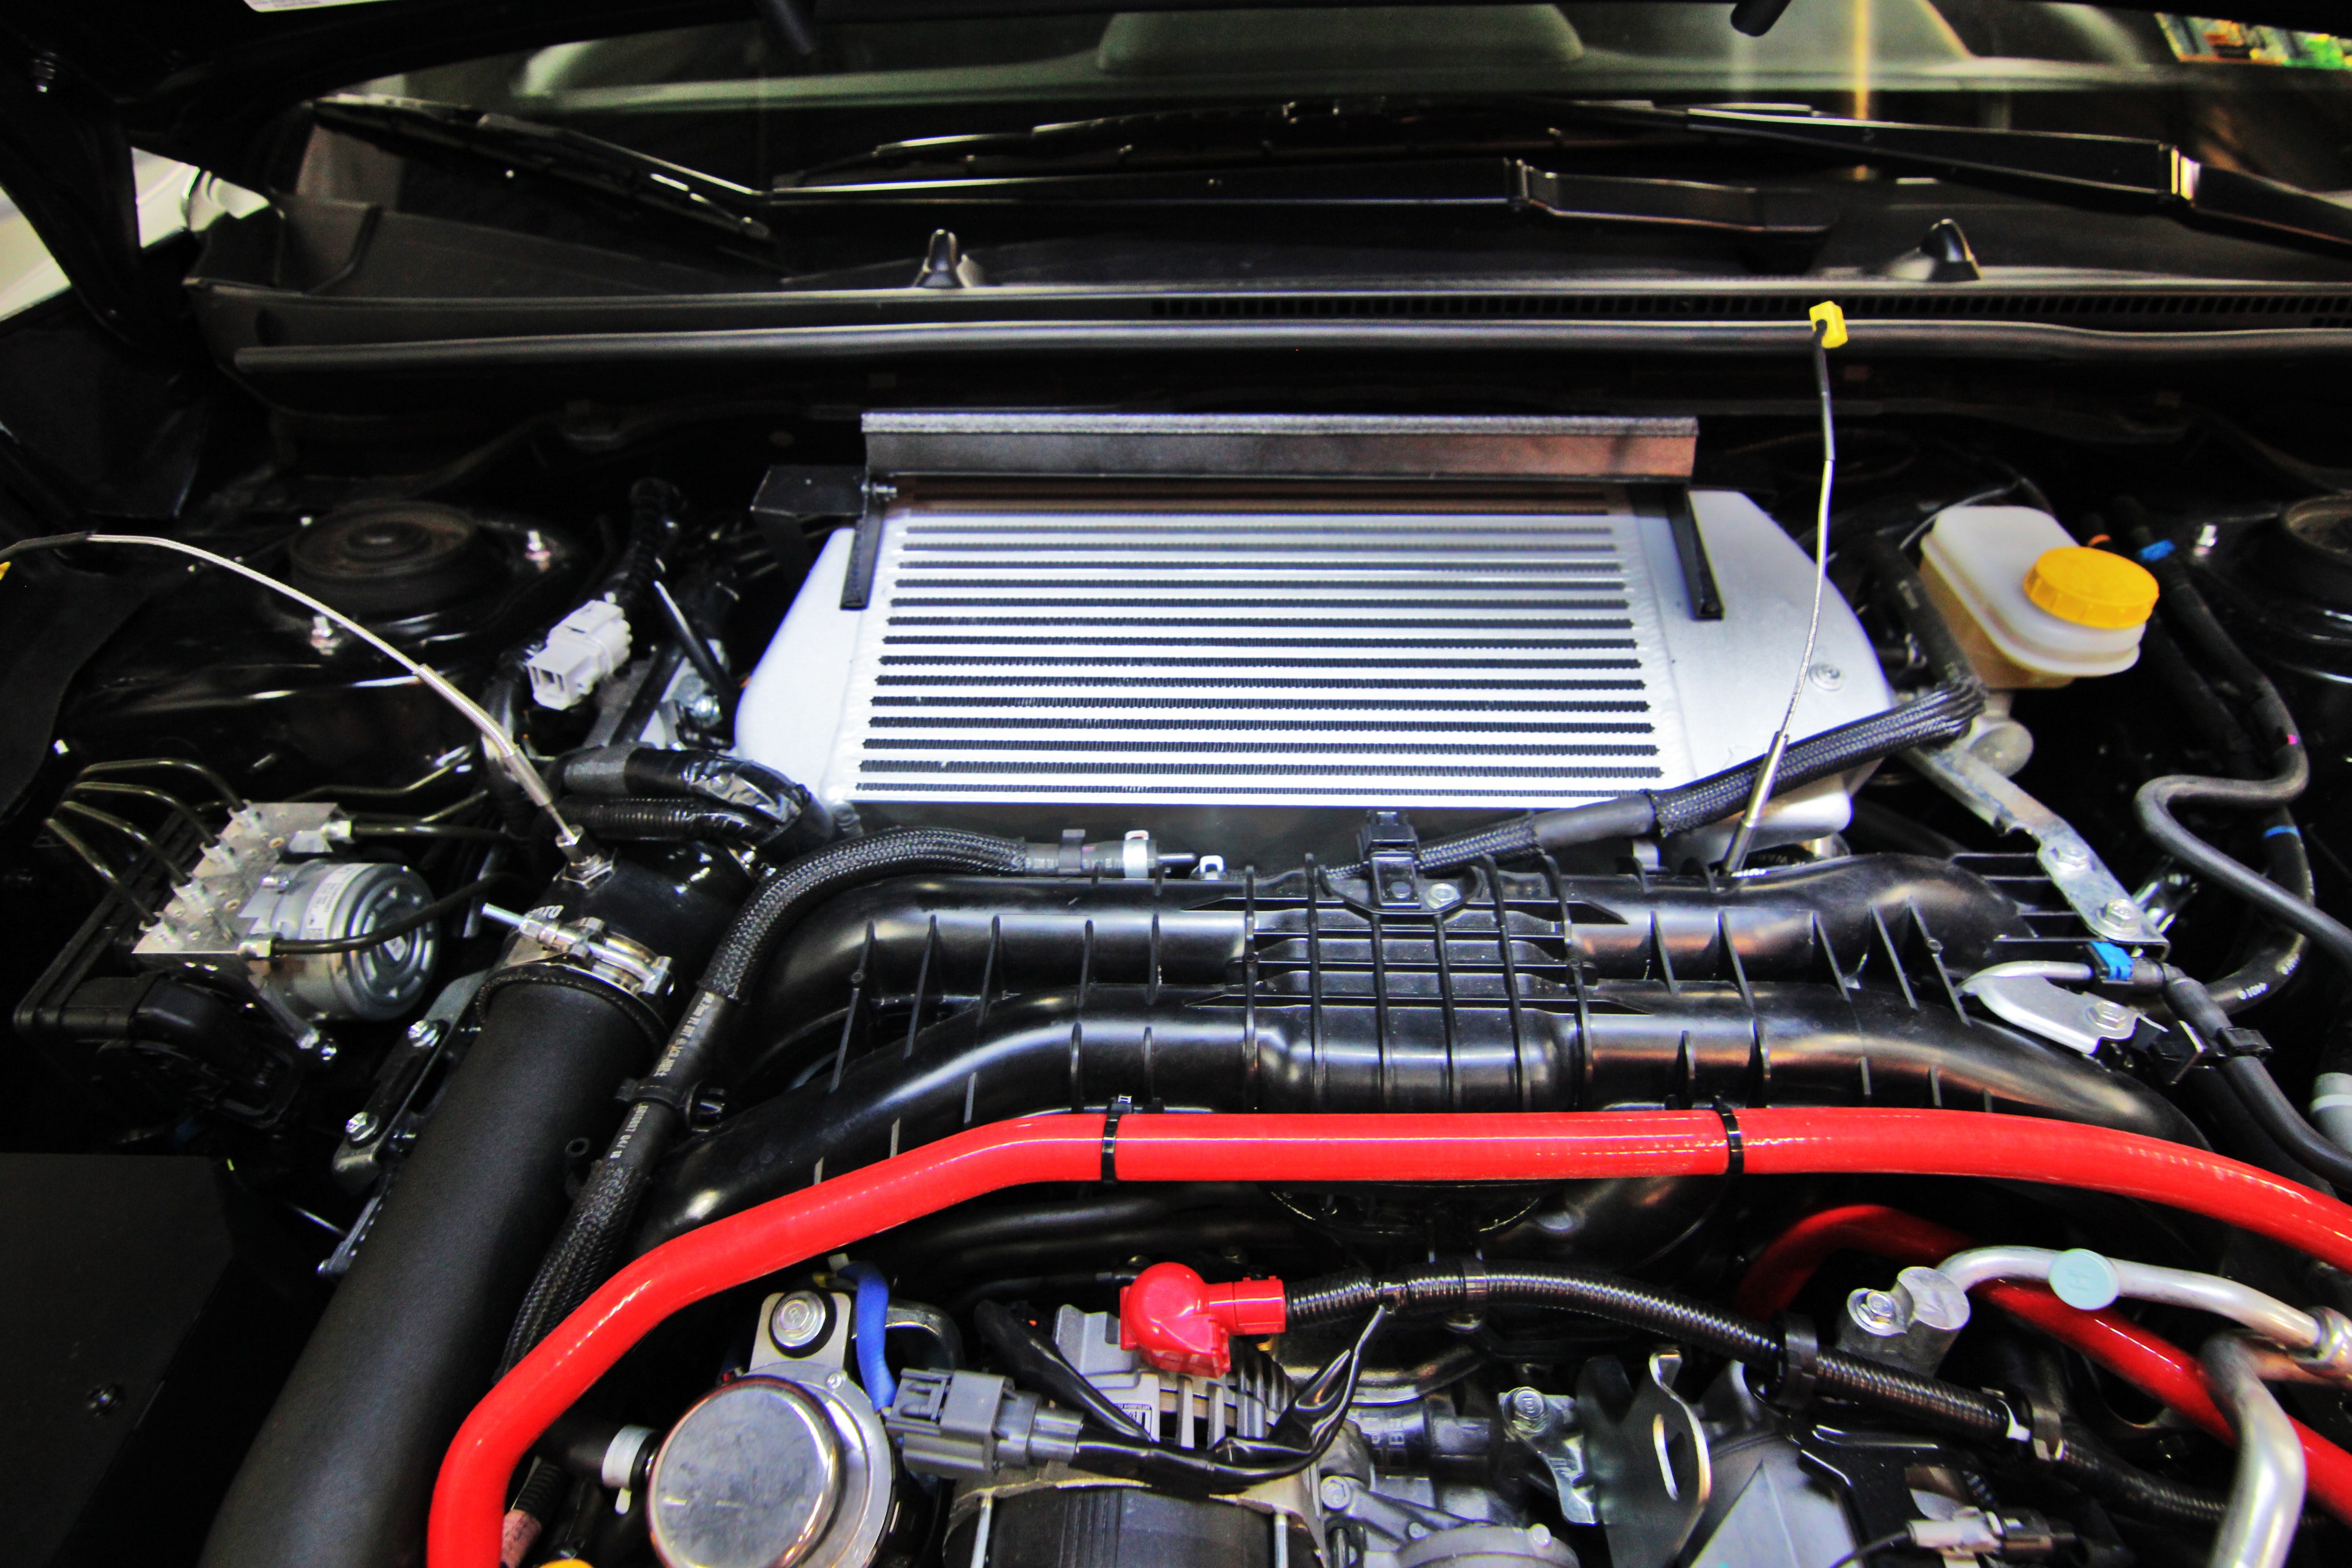
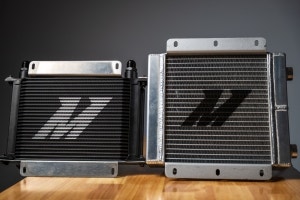
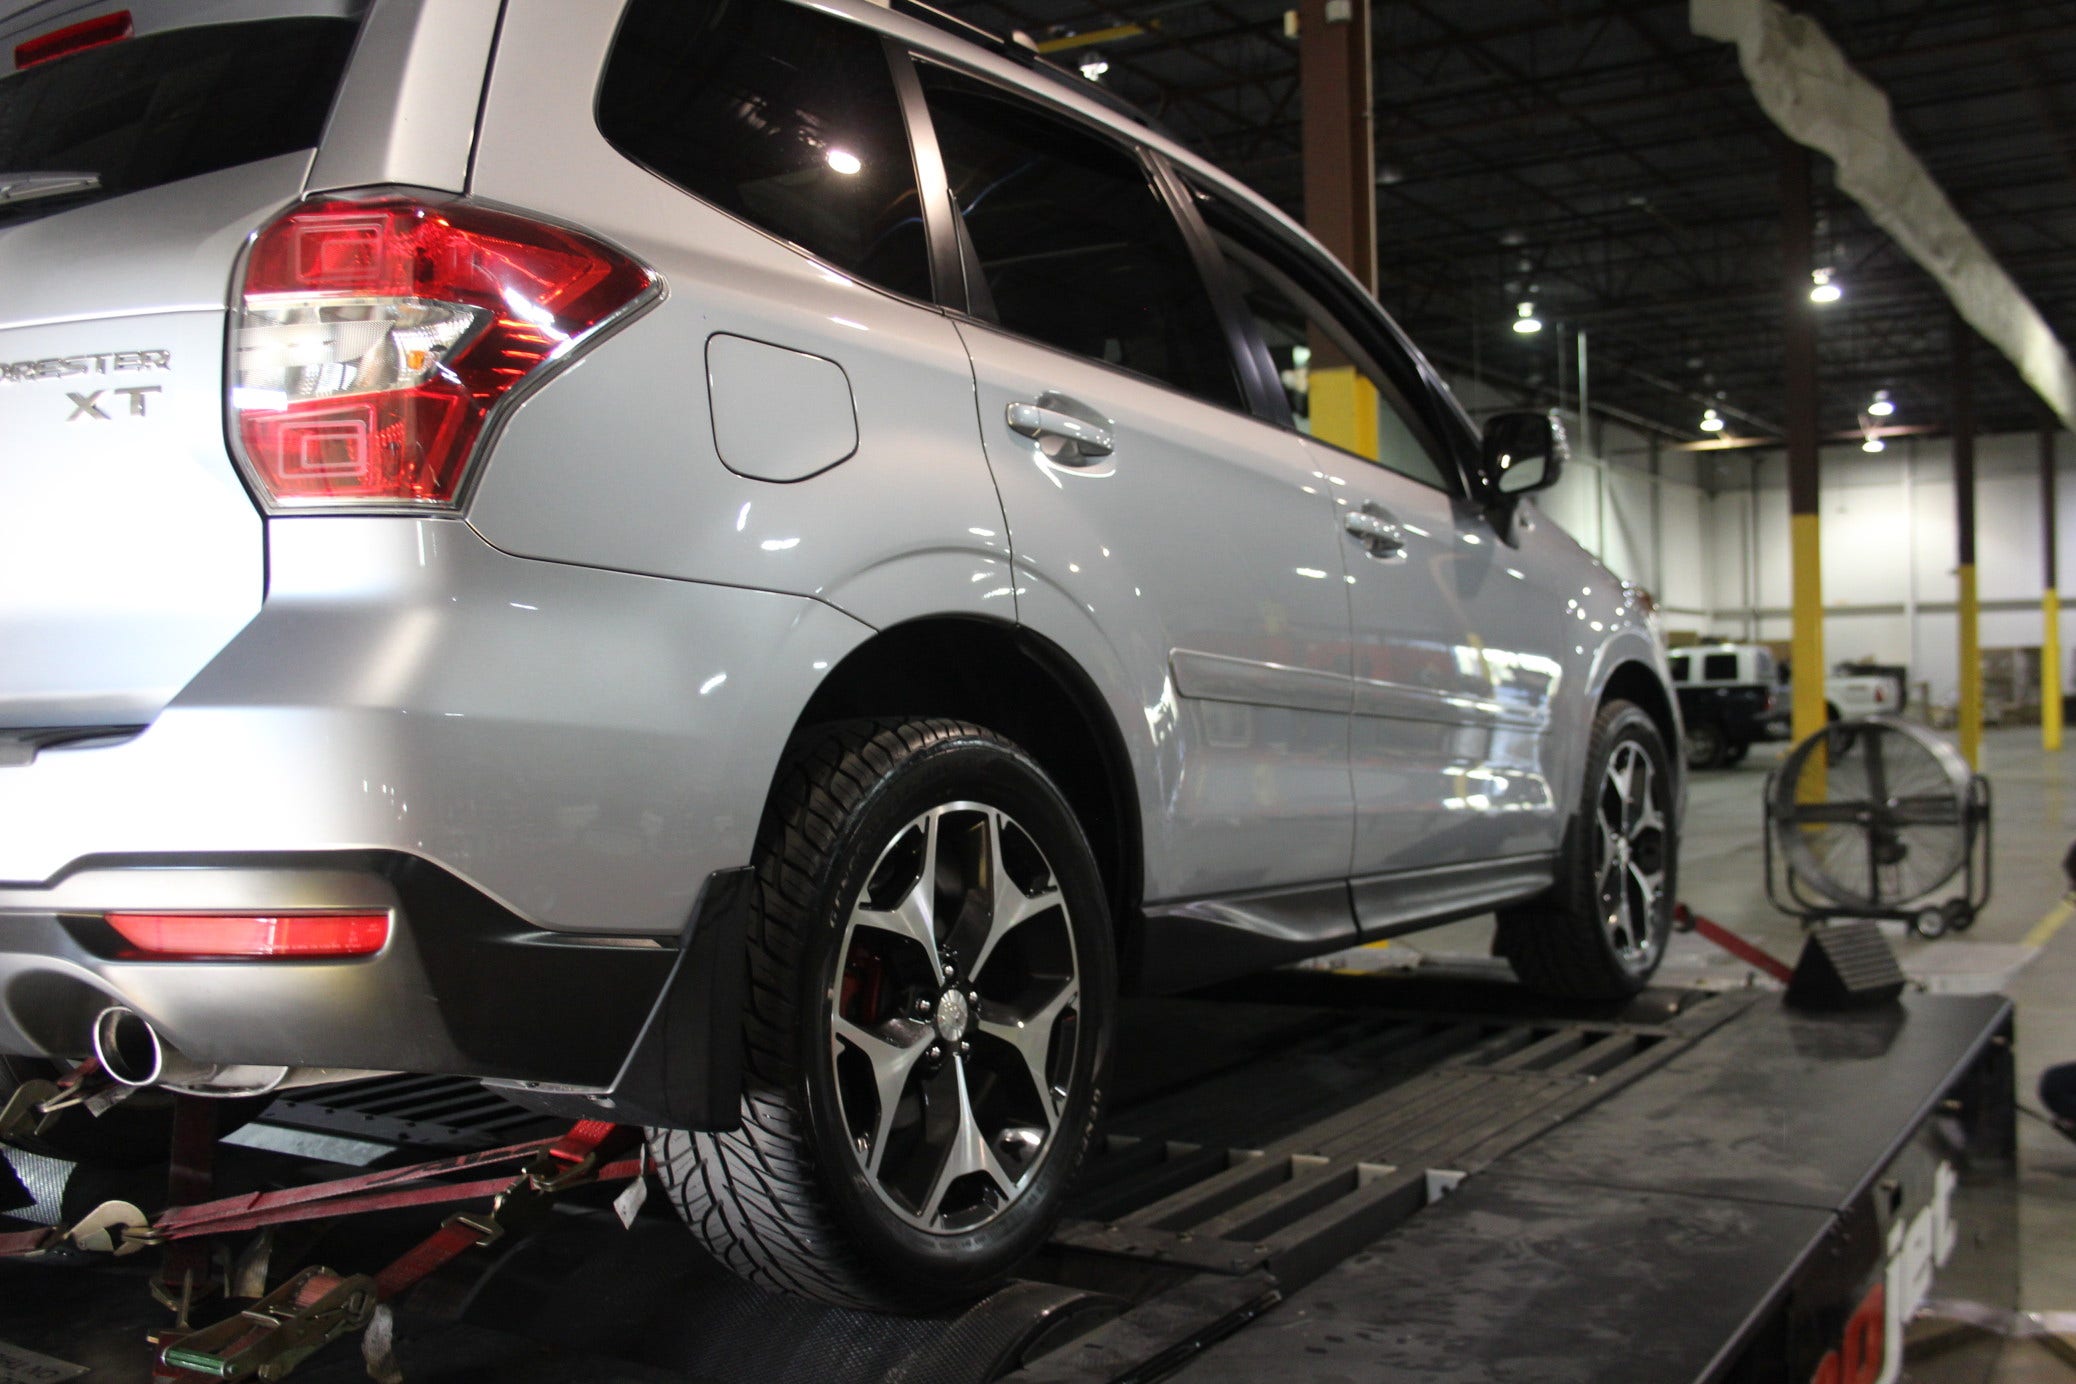
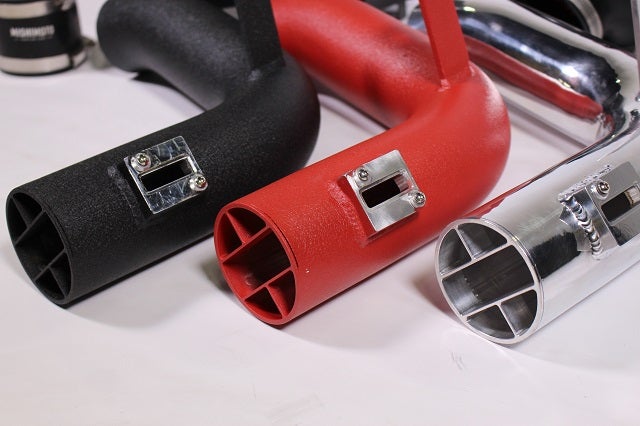
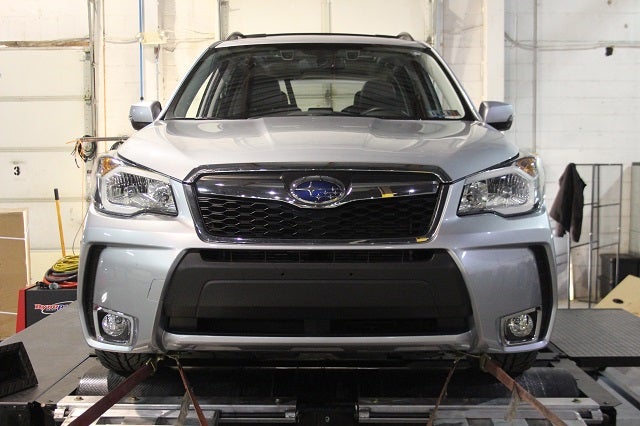 Subaru Forester XT performance parts up for testing
Our initial goal for this project was to design a performance intake system that would deliver dyno proven power gains and while being safe to run on the stock tune. We designed a very similar system for the 2015+ WRX and achieved terrific results.
The Forester XT has changes in the ECU, head design and cams, so the testing has yet to give us the results we want to see. We've tested numerous different designs over the past few months and we haven't seen results that we're happy with yet. We've designed prototypes that make power on
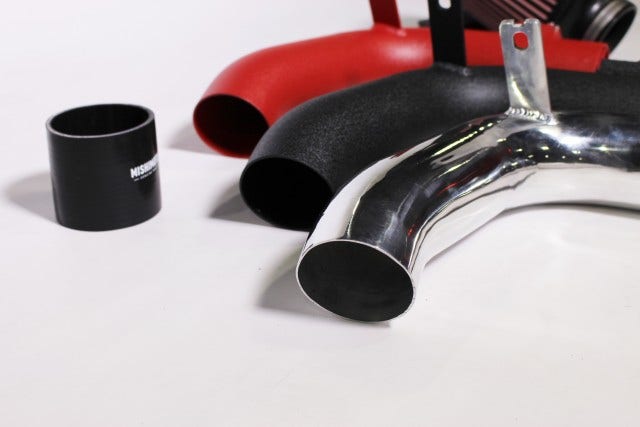
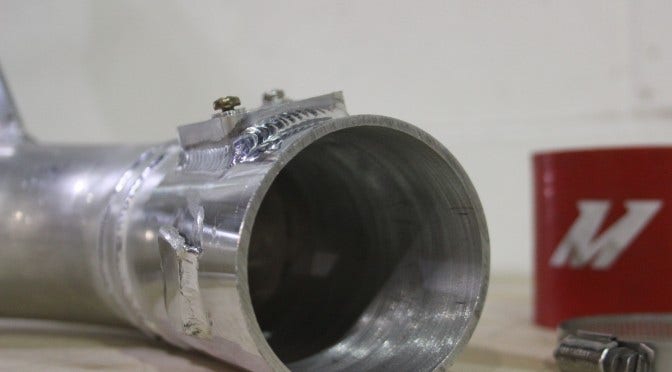
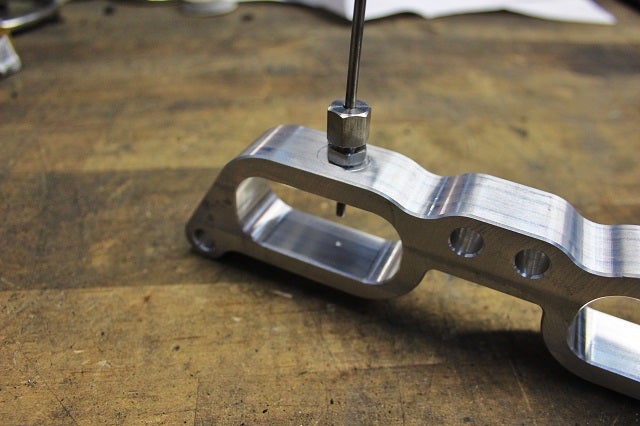
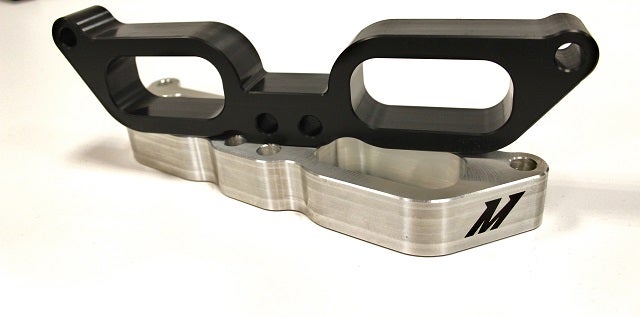
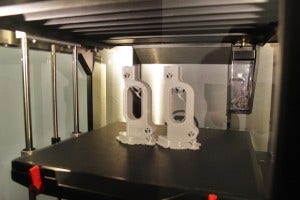
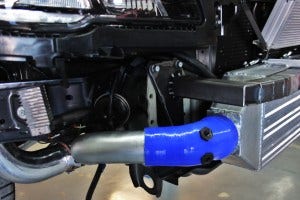
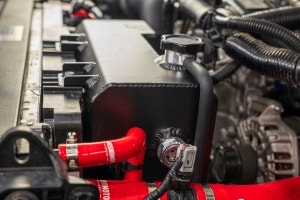
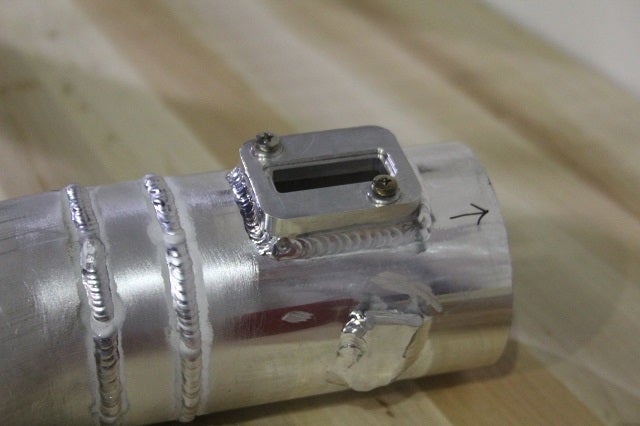 Prototype Subaru Forester parts
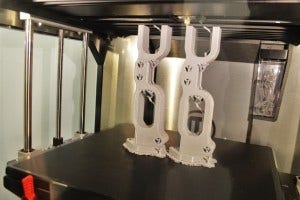