Posted:
February 17, 2016
Categories:
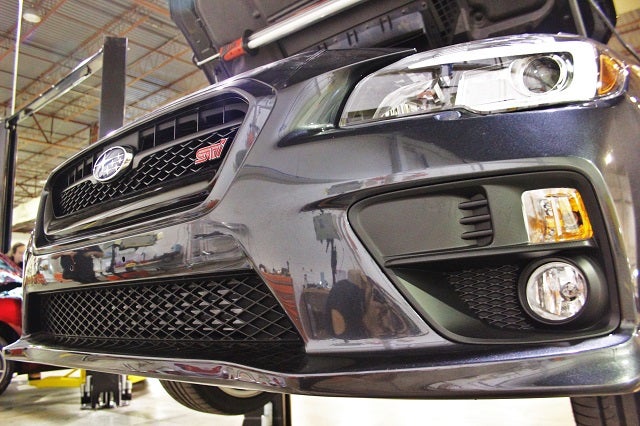
Subaru STi Front-Mount Intercooler 2015+
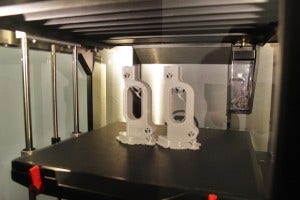
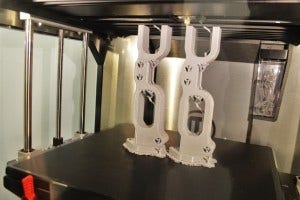
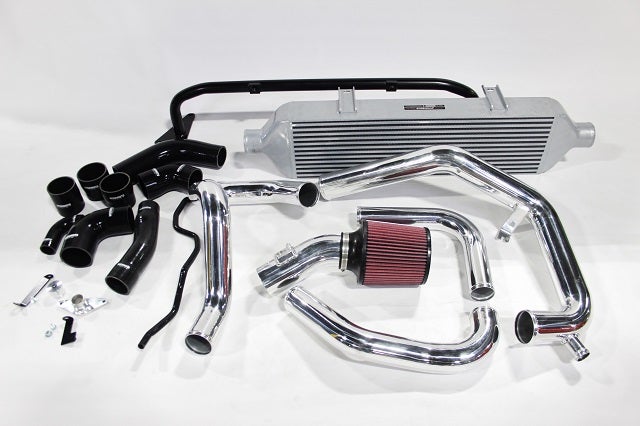
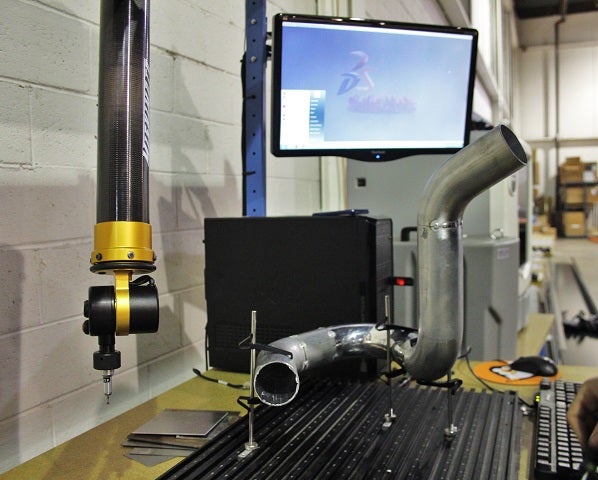
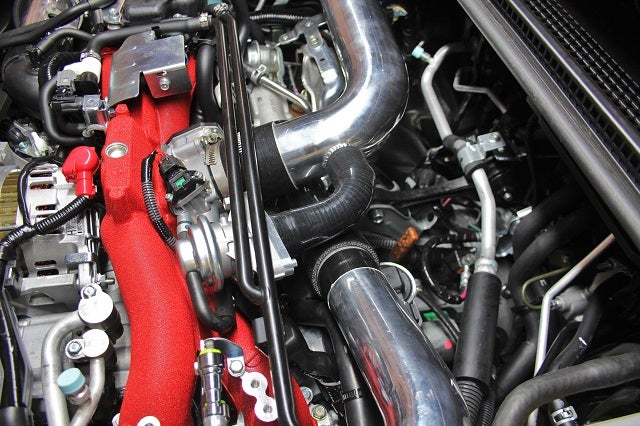
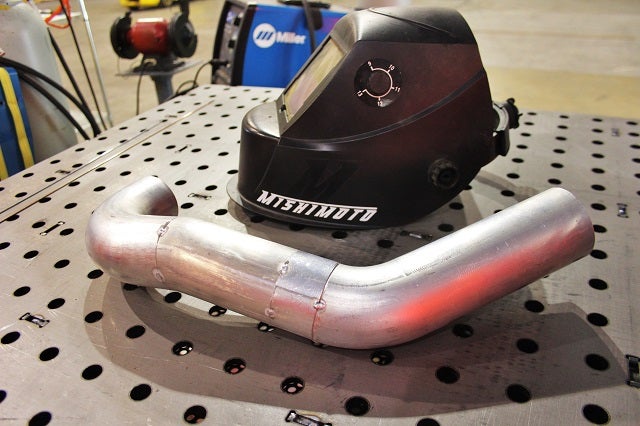
Putting together our final prototype was a bit easier for this project compared to other front-mount intercooler (FMIC) kits our team has developed. As mentioned in previous segments, we used the crash beam and intercooler from our 2015 WRX kit. Now we've worked up some functional prototype piping for a final test fit.
First, let's take a quick look at each portion of the kit.
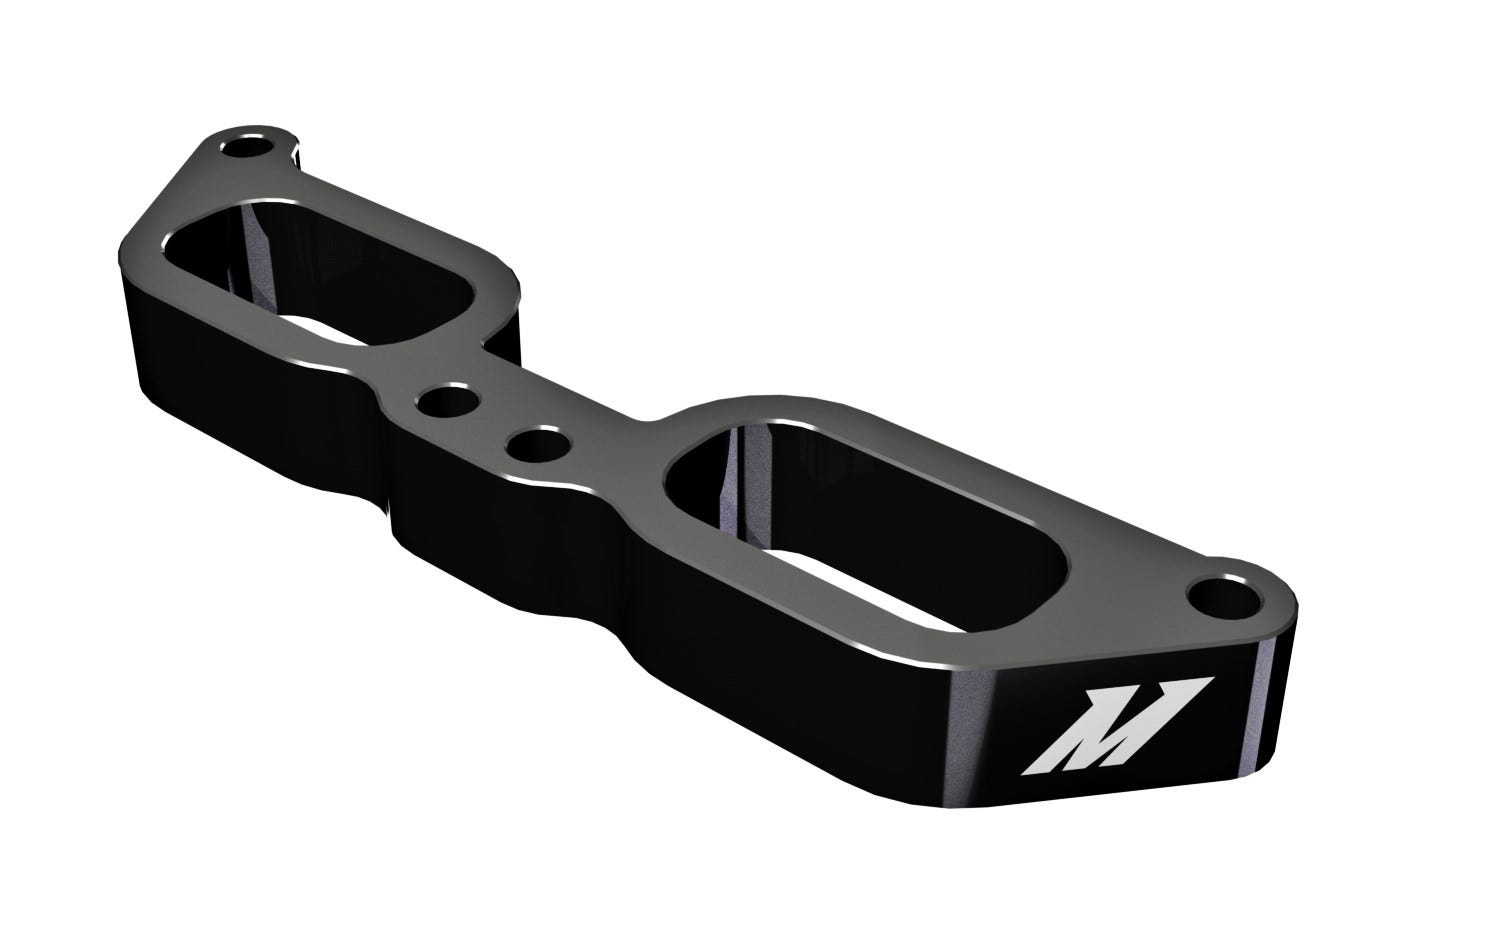
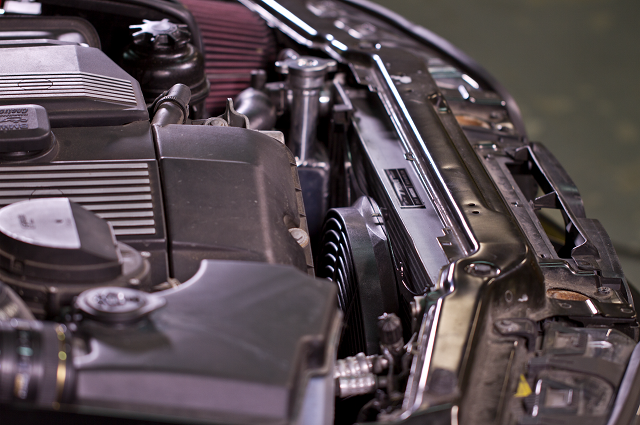
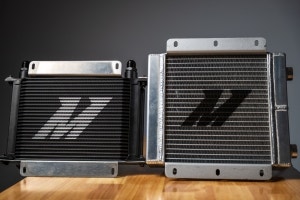
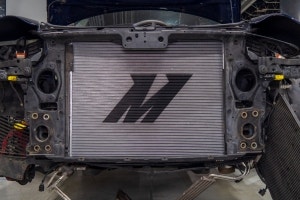
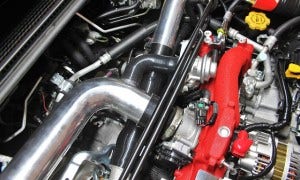
Intercooler and Crash Beam
The intercooler core is the key component in any intercooler kit. This core has provided significant air temperature drops during our testing on the WRX, and we expect the same results with the STi.
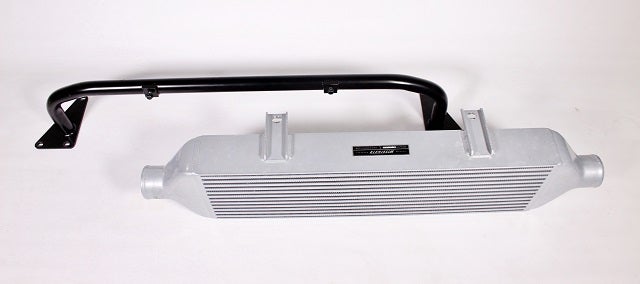
Mishimoto STi intercooler and crash beam
 " width="300" height="180">